
Evaluator
The EVALUATOR user role is given to the instructor of a class who is utilizing the VOCAT system. The following portion of the documentation seeks to make the facets of this user role as direct and clear as possible.
- First Steps/Login
- Dashboard
- Course Requests
- Course View
- Course Enrollment/Importing Rosters
- Creating Projects
- Creating Groups
- Evaluations
- Uploading Media
- Annotations
- Scoring
- Discussions
- Settings
- Rubrics
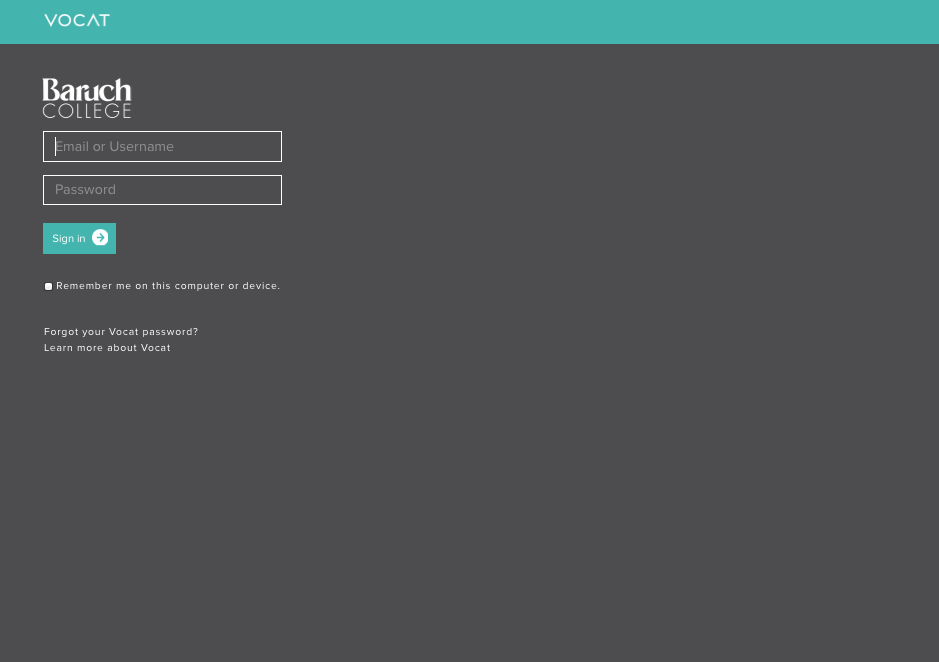
First Steps/Login
Navigate in a browser to the URL baruch.vocat.io. Log in with your Baruch username and password (same password used to log in to email, on-campus WiFi, and computer lab or classroom computers)
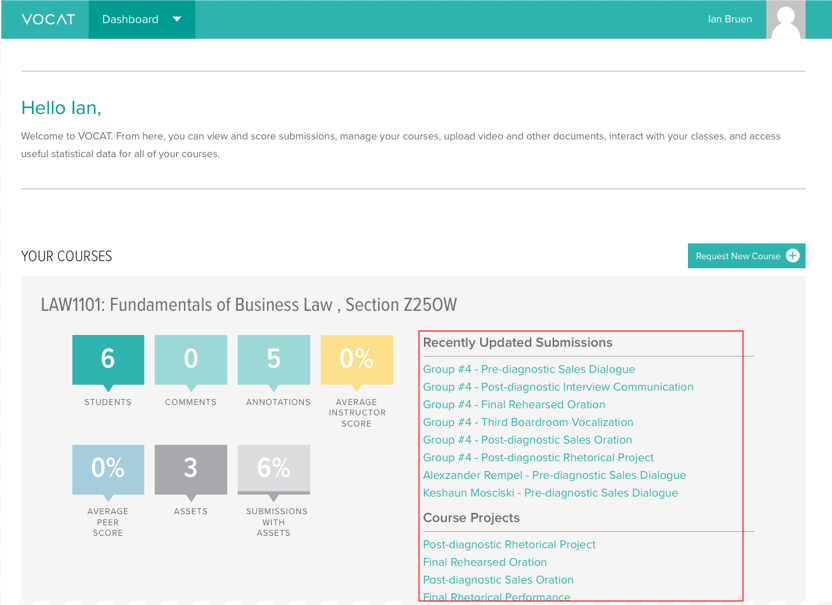
Dashboard
This is the first page you will arrive at after logging in. It displays an overview of your courses with submission and scoring data for each.
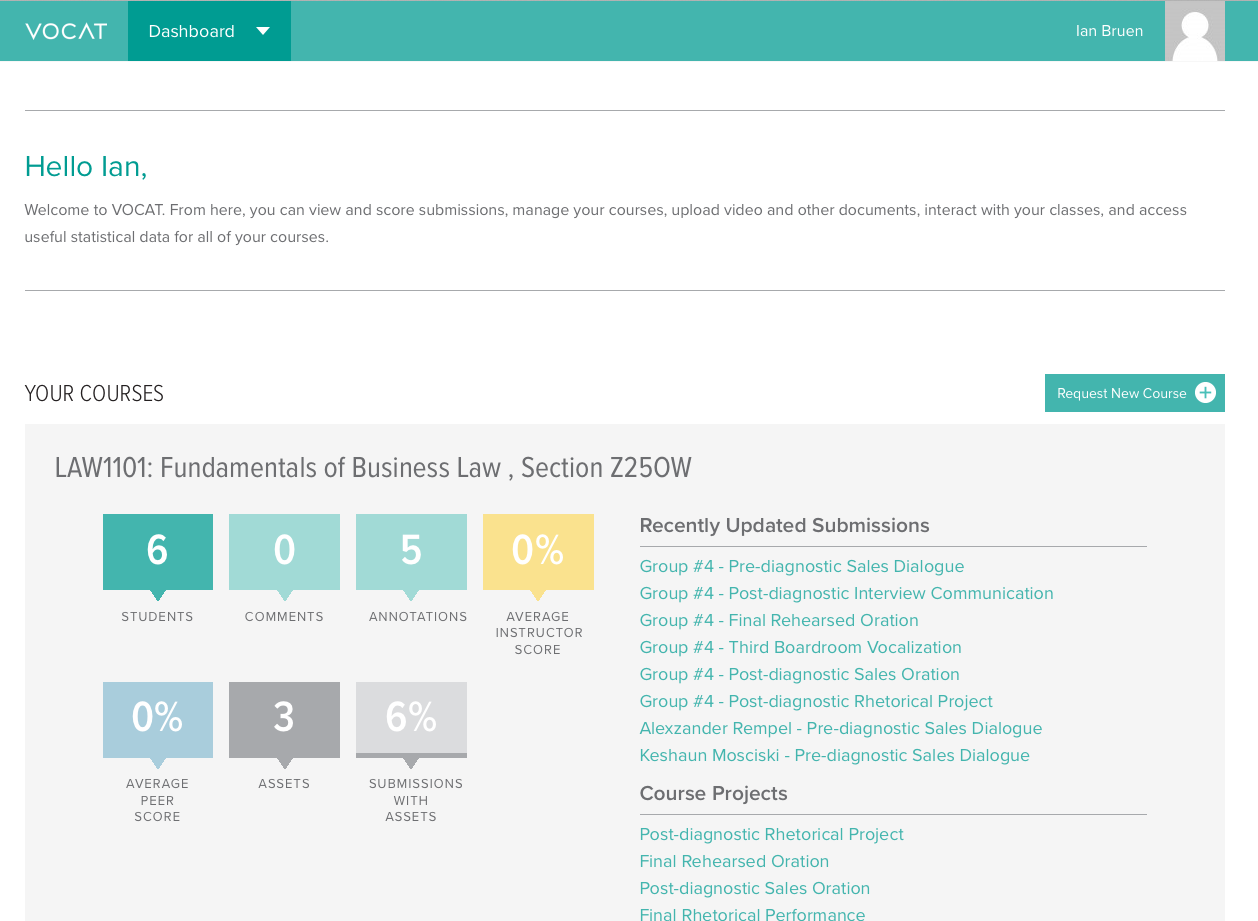
You can navigate to your course from the course selection menu in the top left corner of the page, or by clicking on the course title in the Dashboard.
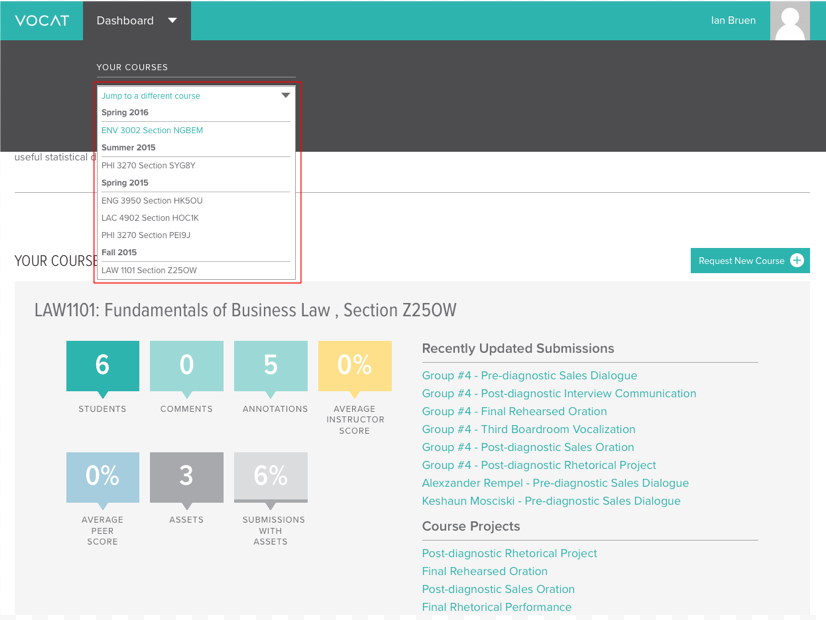
The Dashboard also provides links to course projects and recently added media assets, which you can click to proceed directly to those pages.
Course Requests
When viewing your dashboard for the first time, it will be completely empty.
But you should see a button that says "Request New Course". Pressing this button will take you to this screen:
this button will take you to this screen:
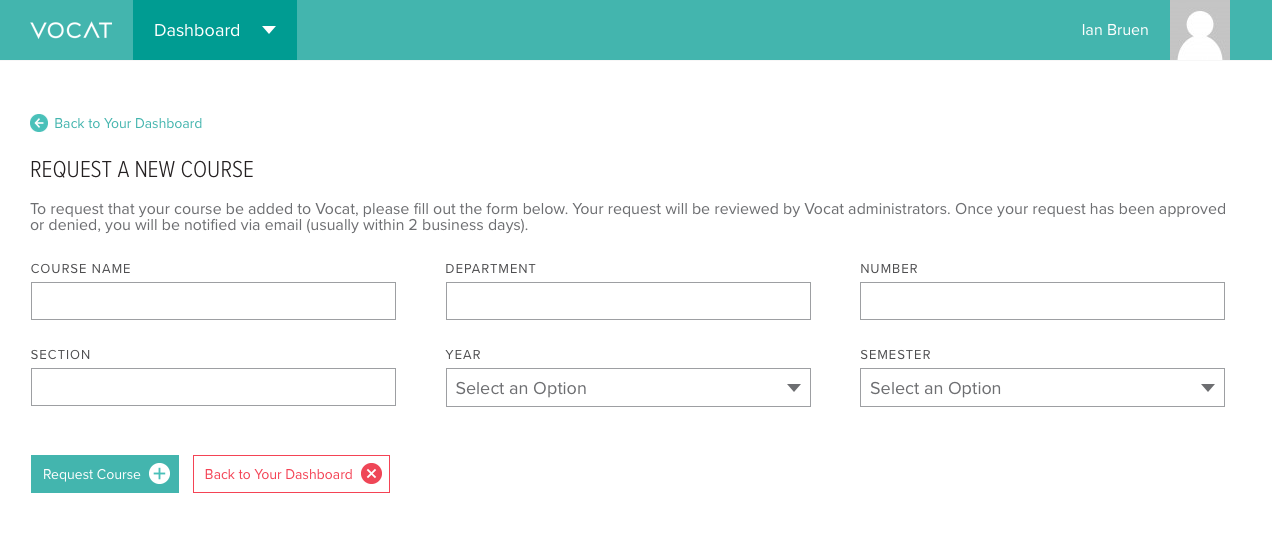
Fill in this information, and then press "Request Course +", and the Vocat administrators will verify and approve your course and you can begin using Vocat to its full capacity.
Course View
Once your course has been set up you can click through to your course from the dashboard. When you enter a course, you will see the "Course Overview" grid featuring student names aligned vertically down the left side and assignments aligned horizontally across the top. (Group assignments can be seen in a similar grid by clicking the "Groups" radio button above the list of student names.)

Course Enrollment/Importing Rosters
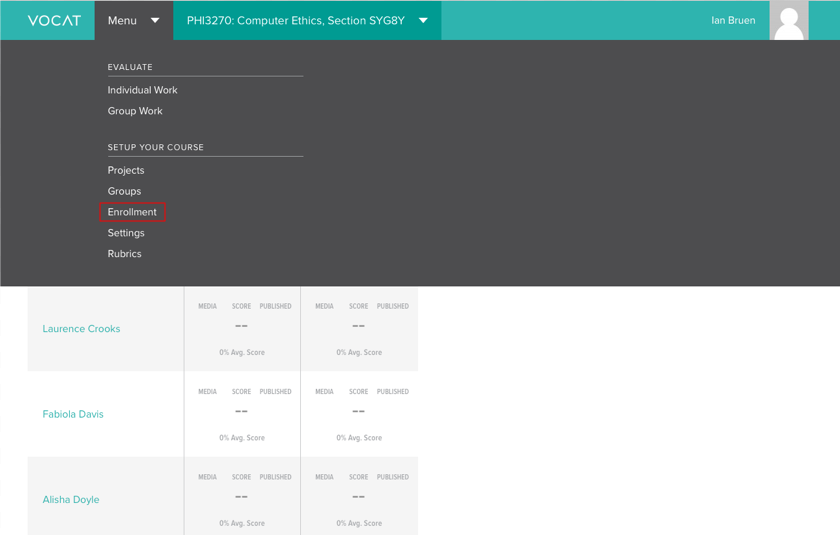
To create a roster, navigate to "Menu" on the toolbar at the top of the page, after you have selected your course. Select "Enrollment" from the "Set up Your Course" header.
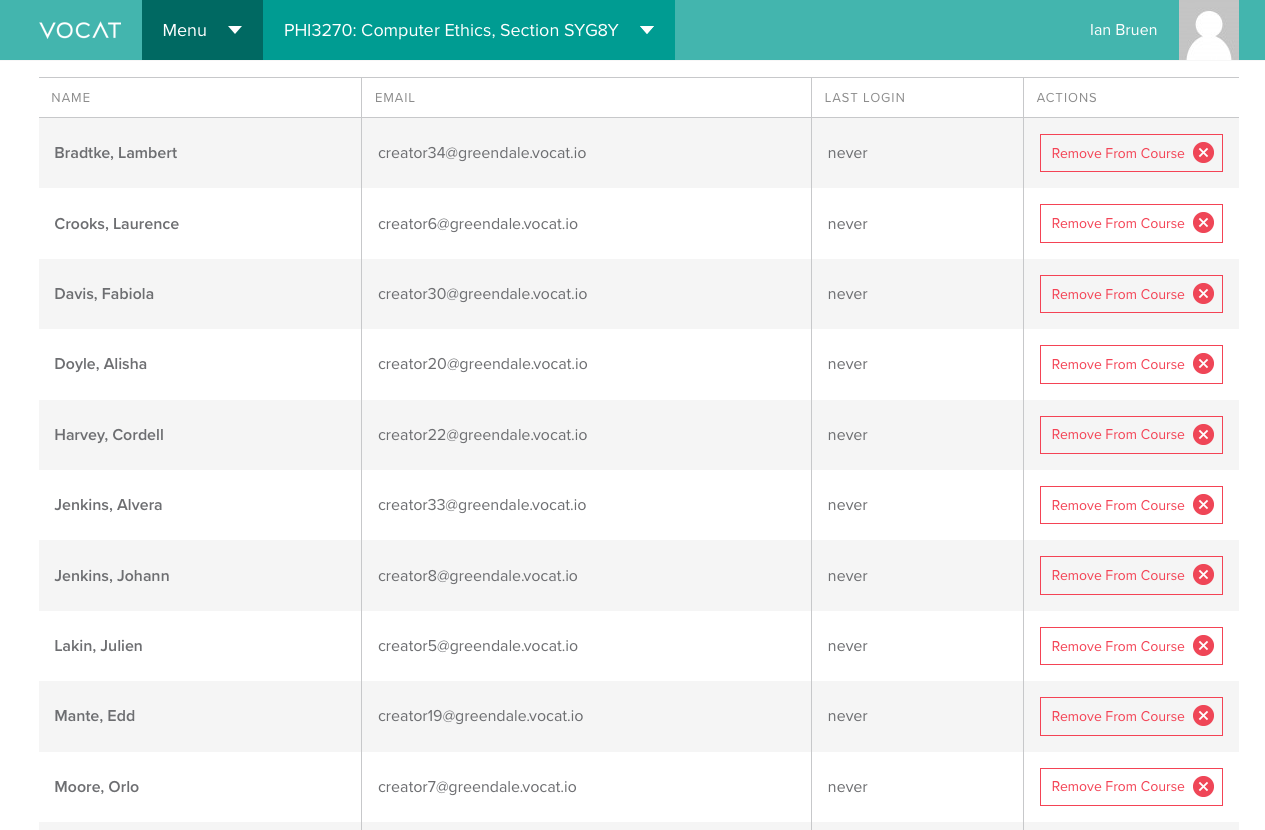
On the Enrollment page, you can add users to your course by typing in their Email ID.
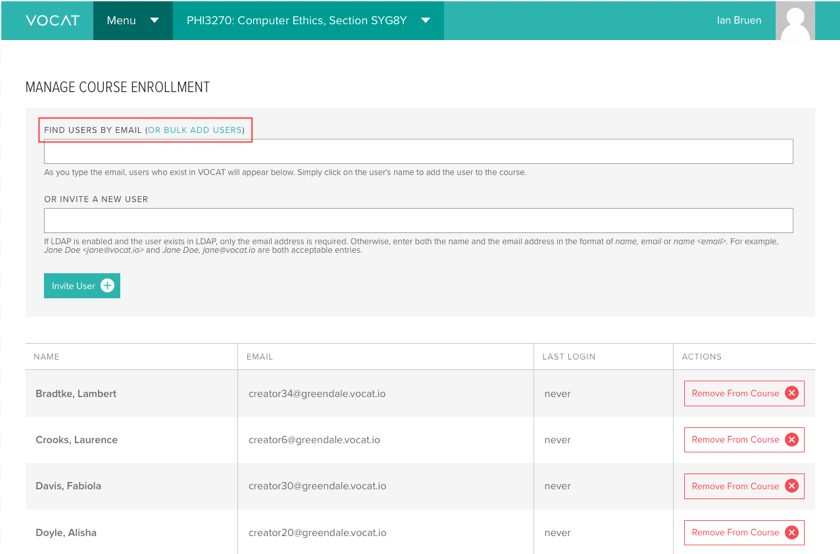
You can also use the "Bulk Upload" option to paste in an entire class roster. You might have to make some formatting adjustments before submitting the roster. Formatting instructions appear below the roster input fields.
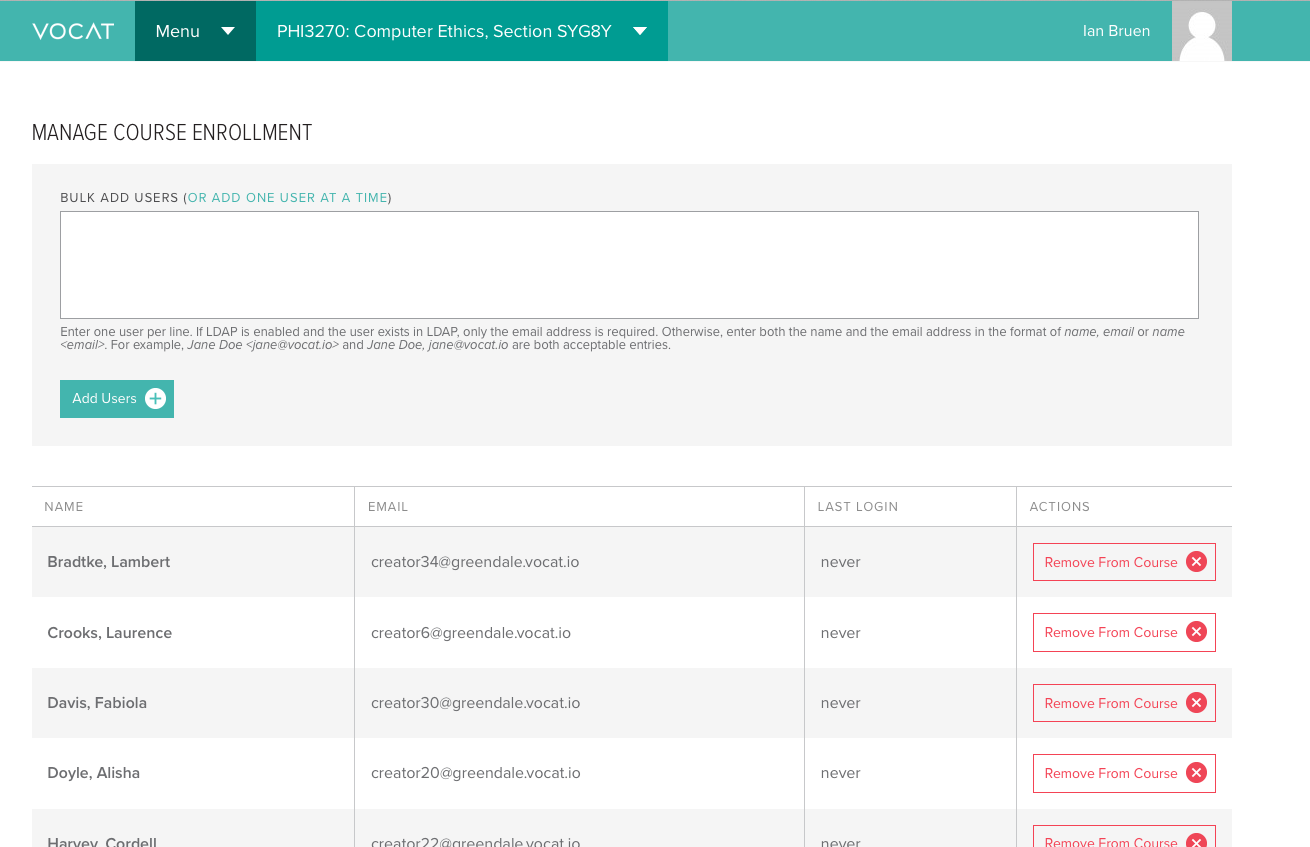
You can also choose to remove students from the course by selecting "Remove From Course" for each student.
Creating Projects
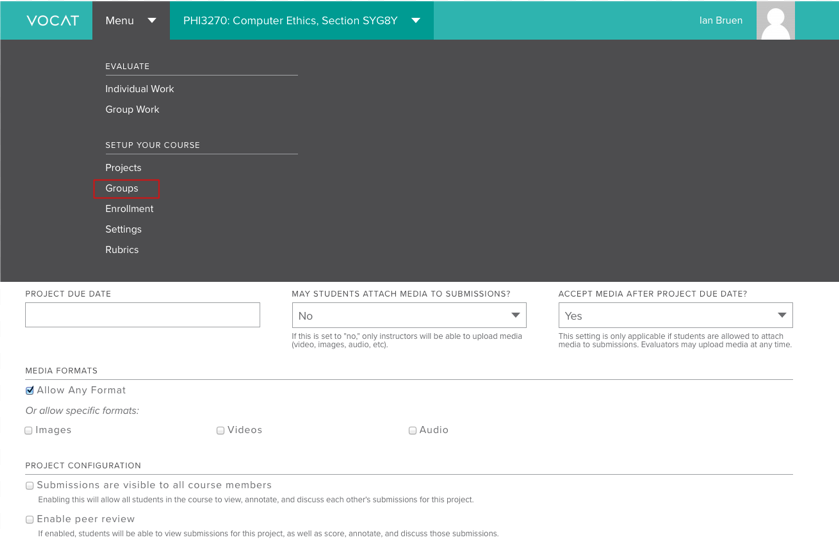
To create a new assignment in your course, from the "Menu" tab on the toolbar, select "Projects" under "Setup your Course".
img style="border:1px solid black" src="content_assets/evaluator/create_proj1.png" height="97%" width="97%">
Here you can either edit existing projects (if you have them) by clicking the project name, or you can create a new project by clicking the "New Project +" button.
img style="border:1px solid black" src="content_assets/evaluator/create_projects2.png" height="97%" width="97%">
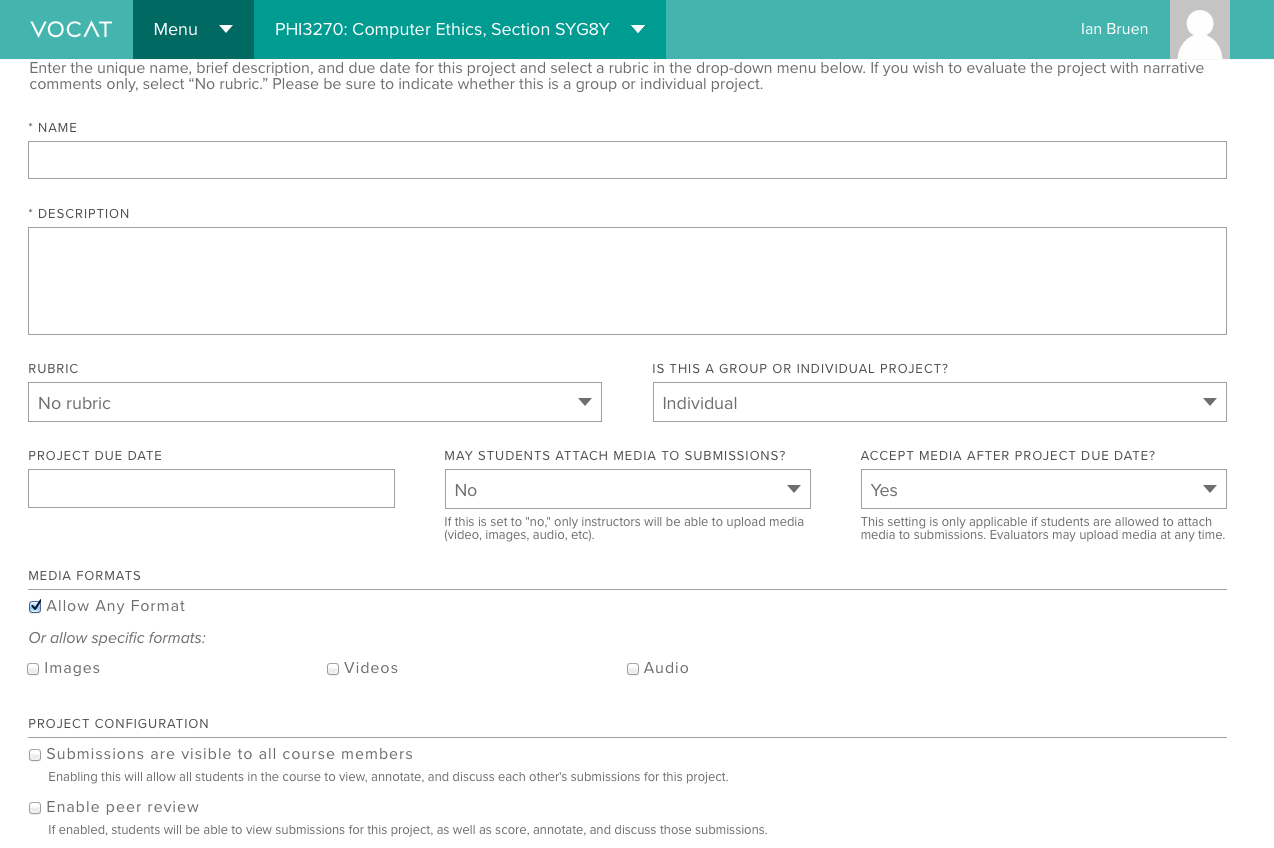
When creating a new project: give it a short name that distinguishes it from other assignments in your course, write a brief description of the project in the "Description" field, and select a rubric from the rubrics dropdown menu if you are planning to score videos within Vocat. Next, select a due date (or presentation date if filmed in class). After you have done this you can declare whether or not you will allow student submissions to come in past the due date. Next you have the option to either retain the default setting allowing students to upload any of the three legal media asset types, or you can select specific media formats that are relevant to the assignment. The final portion of the settings screen is the Project Configuration, which allows you to enable or disable self-evaluation, peer review, anonymous peer review, and the ability for all course members to have access to one another's submissions.
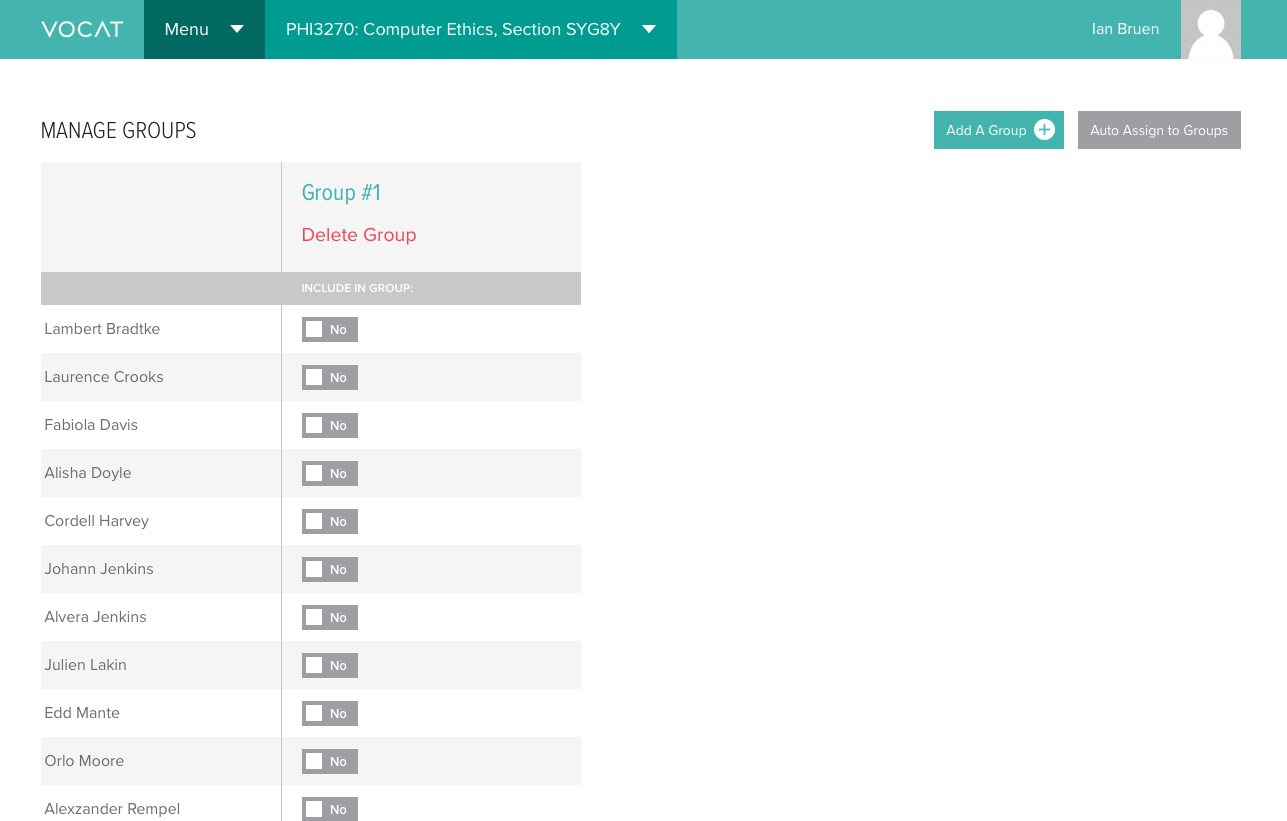
Creating Groups
If you have group assignments, first make sure the project you’ve created has been set to "Groups" or "Groups and Users". You can check this by clicking the Groups button above the list of student names, and seeing if the assignment appears in the group Evaluations grid. To create new groups, go to Menu - Setup Your Course - Groups.
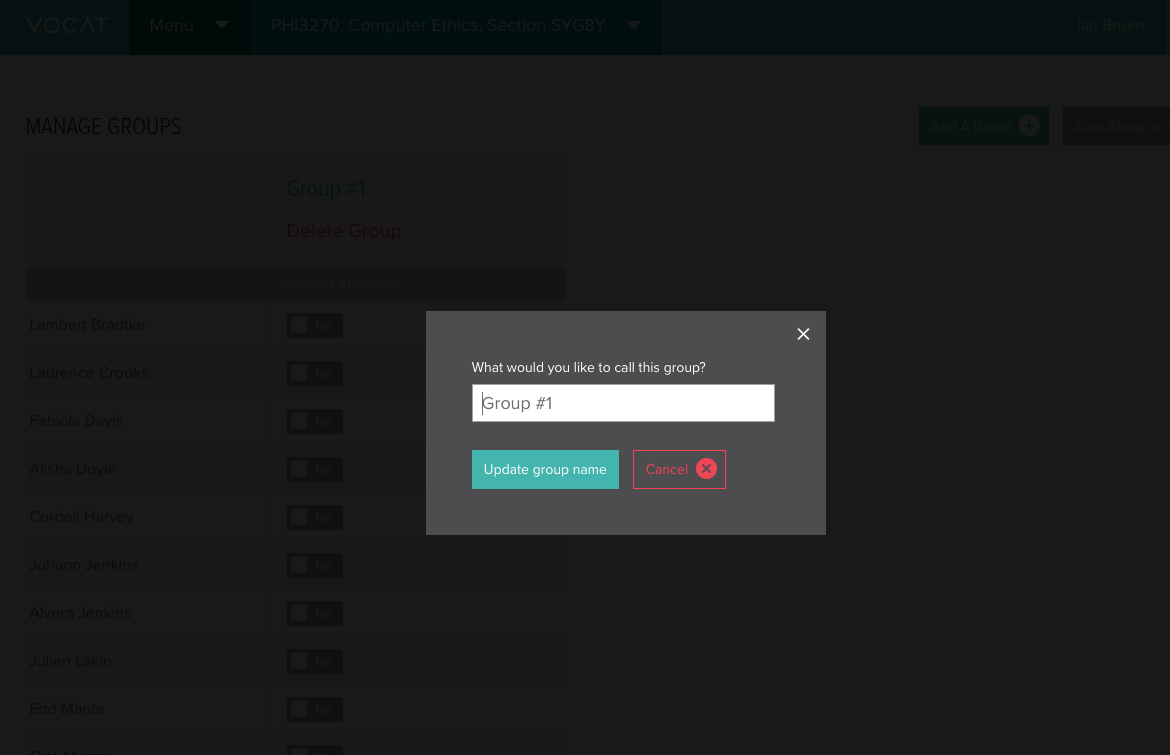
Click the "Add Group +" button to create a new group. It will automatically be named "Group #1" but you can rename it by clicking the group title at the top of the page. If you change group titles, be sure to click the "Update group name" button that appears below the text field. Click the "Add Group +" button repeatedly until you’ve created the number of groups you want.
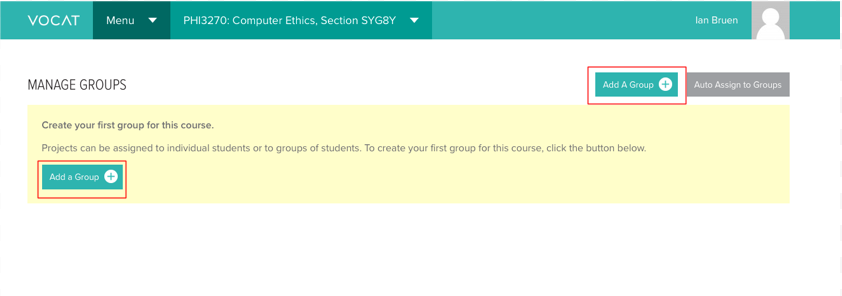
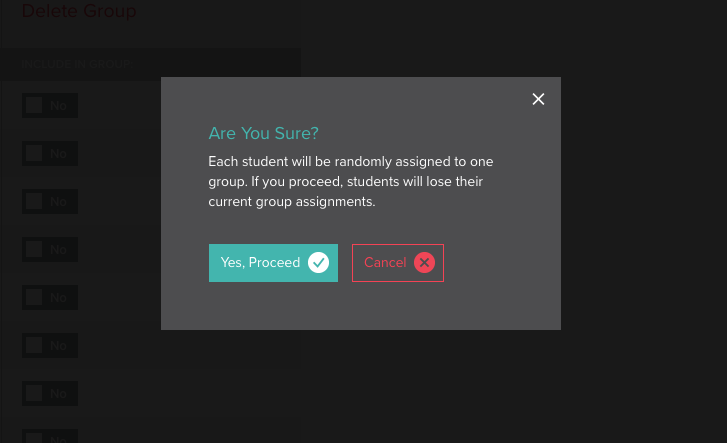
If you want to create random groups, then click the "Auto Assign To Groups" button, and the class will be split up evenly into those groups.
Evaluations
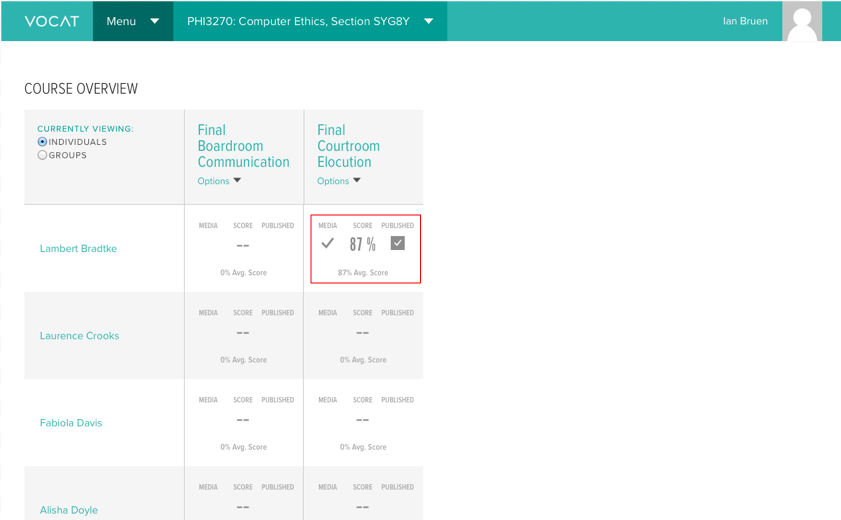
Clicking on the course you are managing in the menu at the top of the page will take you back to the Course Overview grid. This grid pattern allows you to quickly see three things about each assignment:
- Whether or not a media asset has been uploaded for a particular student, denoted by a checkmark under Media.
- The assignment grade (in percent), if given, underneath Score.
- Whether or not the score has been published so that the student can see it, illustrated by a checkmark under Published.
Clicking on any of these items will take you into the student’s video page for that particular project.
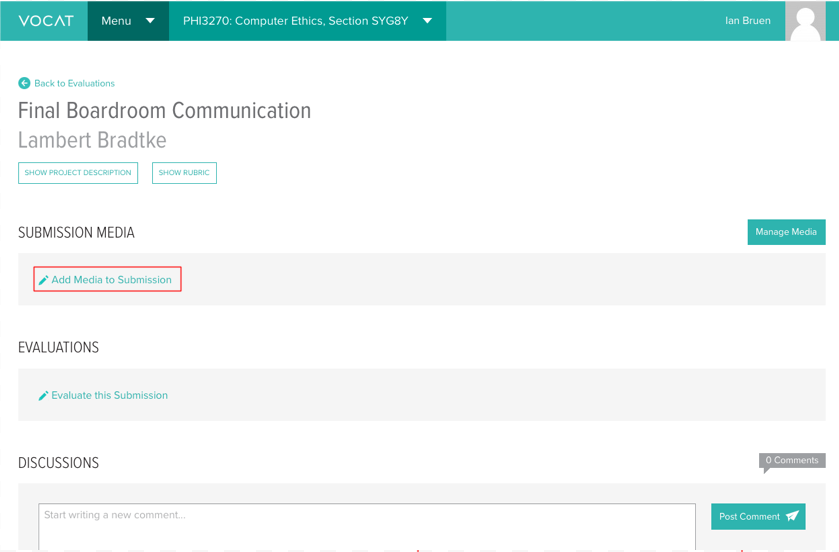
Uploading Media
From the Evaluations grid, click on the info-block (Media/ Score/ Published) corresponding to the student and project that you want to upload a media asset for. This will take you to that student’s page for that specific assignment. (For groups, do the same, but in the Groups Evaluation Grid). And, click "Add Media to Submission".
Now you should see a very informative black screen show up that directs you where you can:
- Drag & Drop Files: Drag any valid media files here and they will upload to the Vocat servers. Make sure you drag the files into this box, otherwise the file may show up on the screen, but will just be an in-browser display… not an upload to Vocat.
- Select an audio, image, or video file: By clicking here you can retreive a media asset for upload by searching through your computer's file manager
- Vimeo/YouTube URL: If you want to link a video from one of these services to your Vocat instance, you can place the URLs here.
Annotations
The annotation tool allows you to make specific comments about aspects of the student’s media submission. You can do the following with the annotation tool:
- Make a time stamped comment: This feature allows you to reference a specific point in a media submission and comment on it. When reviewing your comments, students can click them and Vocat will open the specific part of the media submission that the comment relates to/contextualizes
- Use of Oval annotation tool: This tool allows you to place a yellow circle around anything in an image submission, or on a video at a specific point in the video timeline.
- Use of the Draw annotation tool: This allows you to draw freeform on media submissions
- Use of the Select tool: This allows you to quickly move any freeform drawings or ovals around the media submission canvas.
These tools work for all types of media assets, with limited availability of drawing tools for audio files. While annotations of images don't necessarily utilize timestamp functionality, you can use the drawing tools to make separate points to a student.
When annotating video or audio, all you have to do is start typing for the timestamp functionality to be initiated.


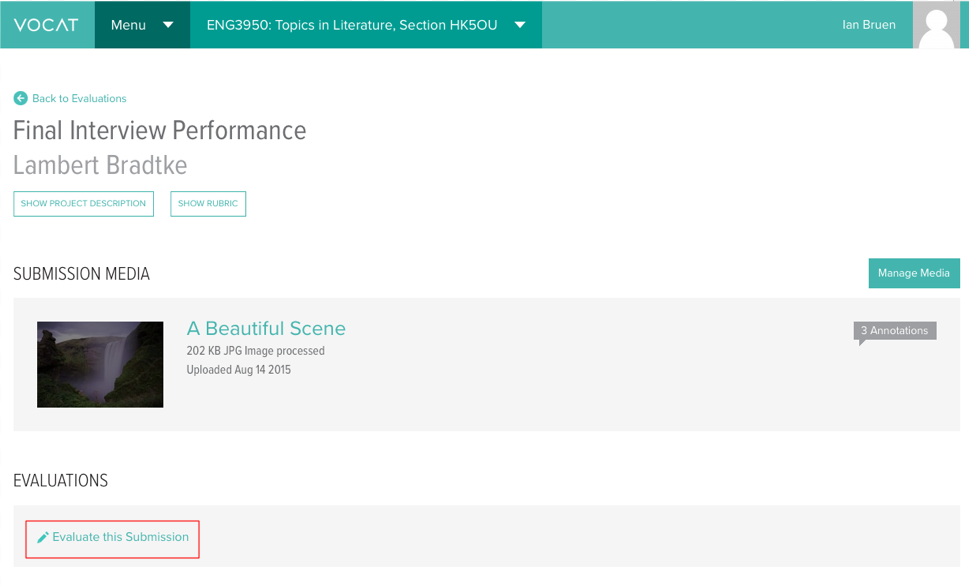
Scoring
Under the student’s video you will see the "Evaluations" header and a link that says "Evaluate this submission"
Clicking that hyperlink will expand the rubric to show sliders for each criteria. You can either drag the sliders to the desired scores with your mouse, or click the number on the right side and type in your scores. The meter at the top of the rubric will automatically update with the total percentage score.
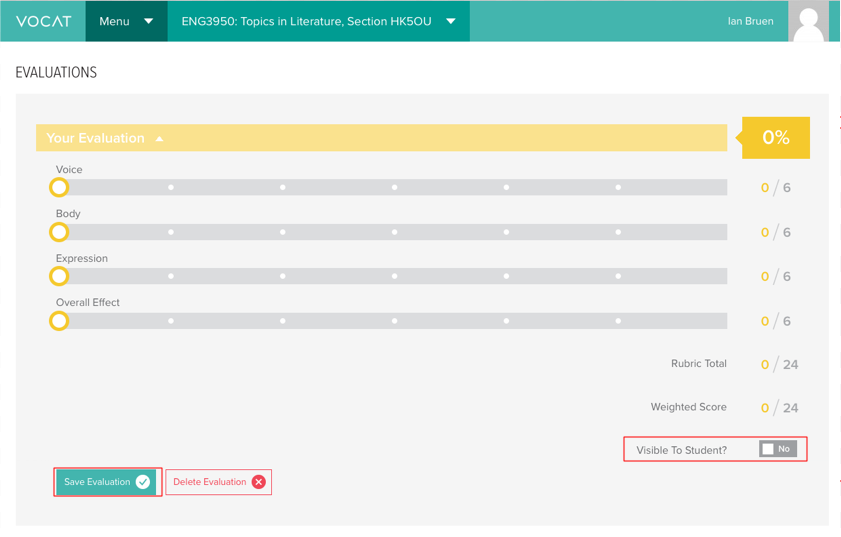
You can save your evaluation at any time by clicking the "Save Evaluation" button on the right side. The status icon to the lower right shows whether the rubric is published or unpublished.
By default, the score is unpublished, meaning it is not available to the student. If you click the button next to the prompt that reads "Visible To Student?" it will change the status to "Published." (Changing the "No" to a "Yes")
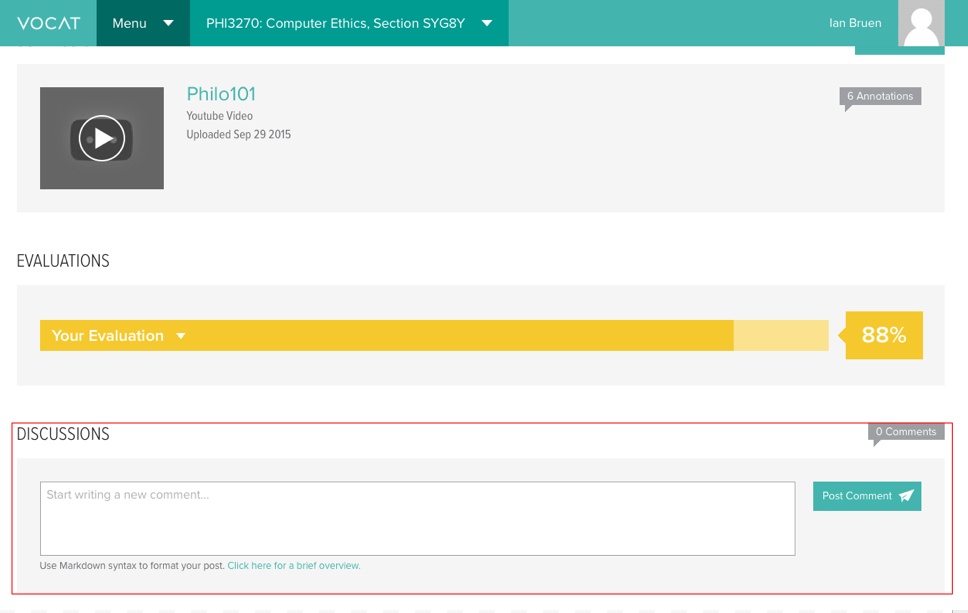
Discussions
Students and instructors can also post comments in the discussion section, which appears at the bottom of the video page. The commenting feature allows you to post new comments or reply to existing ones, making it easy to follow the flow of the discussion.
Settings
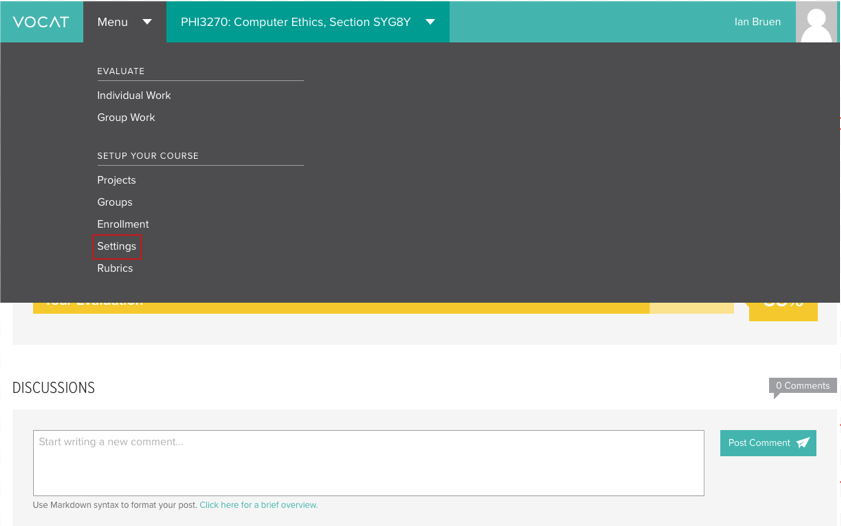
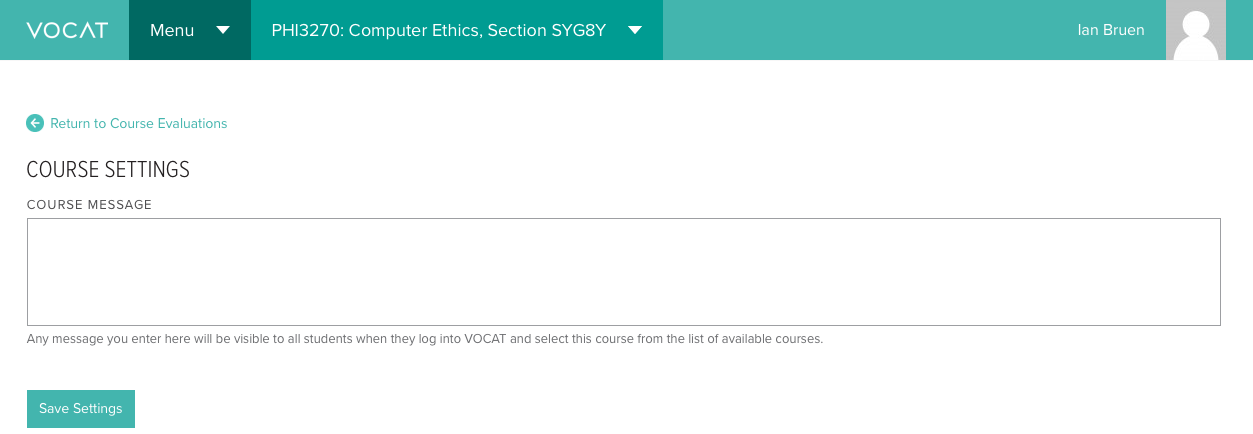
Most of the settings can be configured on a per project basis from the project settings menu, however to leave a message to contextualize how vocat is being used in the course click on "Settings" under "Setup your course" and you can write your course message in this space.
 –>
–>
Rubrics
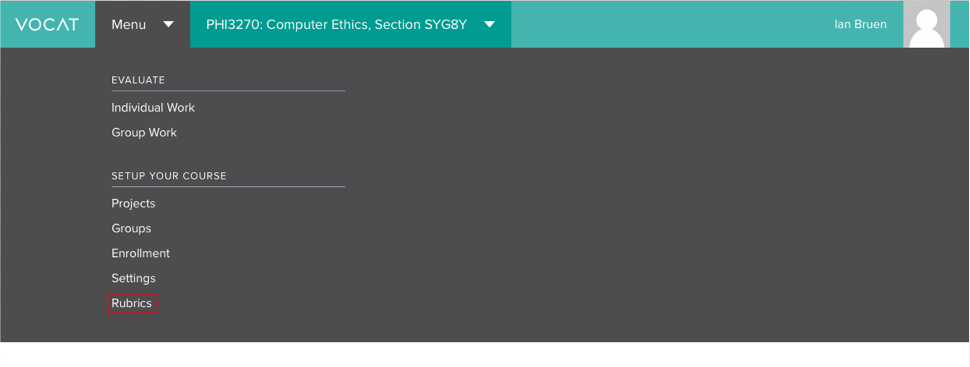
To create or edit rubrics, click the "Rubrics" link that appears under Setup Your Course when clicking on Menu.
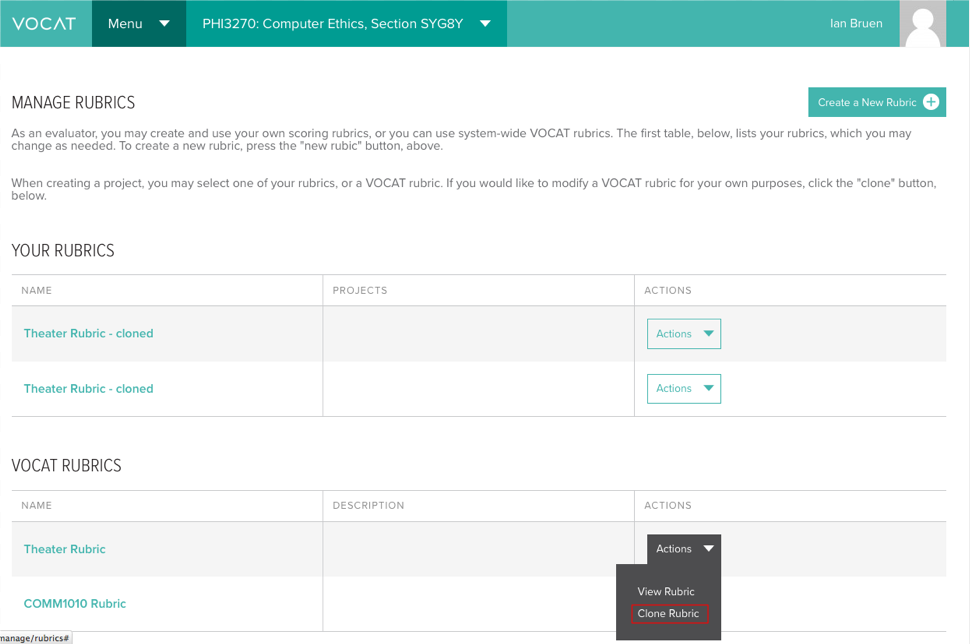
This brings you to a screen with rubrics you’ve created under the "Your Rubrics" header, as well as some system-wide rubrics under "VOCAT Rubrics."
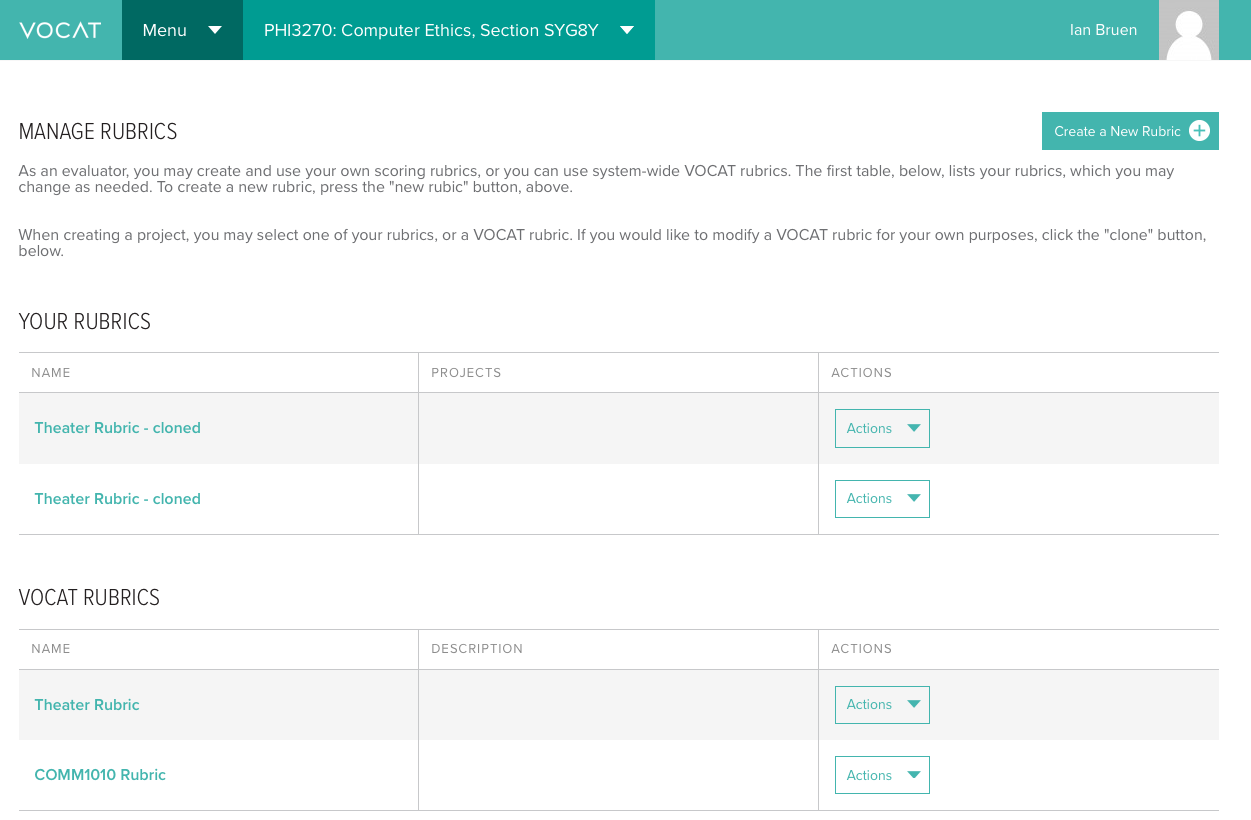
If one of the system-wide rubrics is similar what you want, you can create an editable version in your own rubric library by clicking the "Actions" button to the right of the rubric name, then clicking "Clone Rubric."
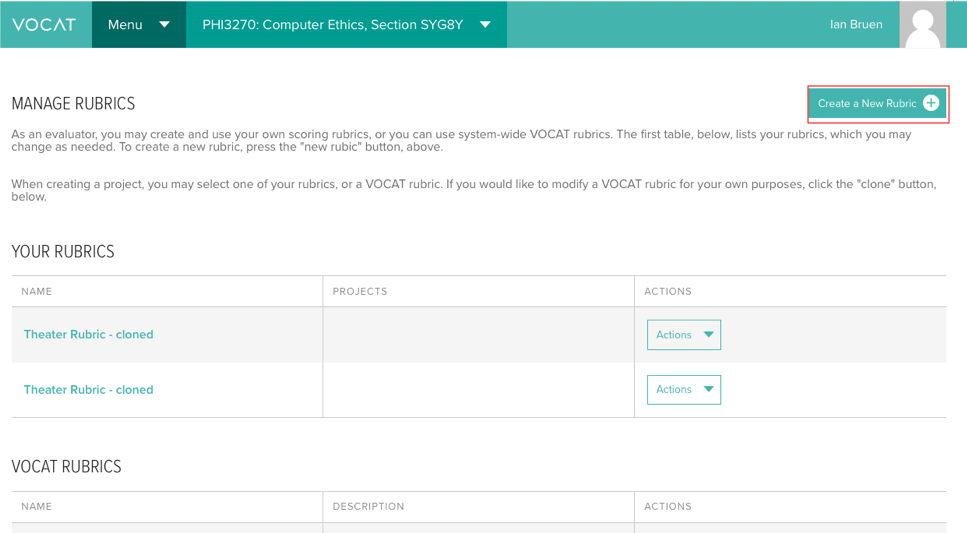
To create a rubric from scratch, click the "Create a New Rubric +" button at the top right corner of the page.
- Give your rubric a name and brief description in the "Rubric Name" and "Description" fields.
- In "Lowest Possible Score" and "Highest Possible Score," enter the lowest and highest scores possible for each criteria you will be grading on, not the total score possible in the rubric.
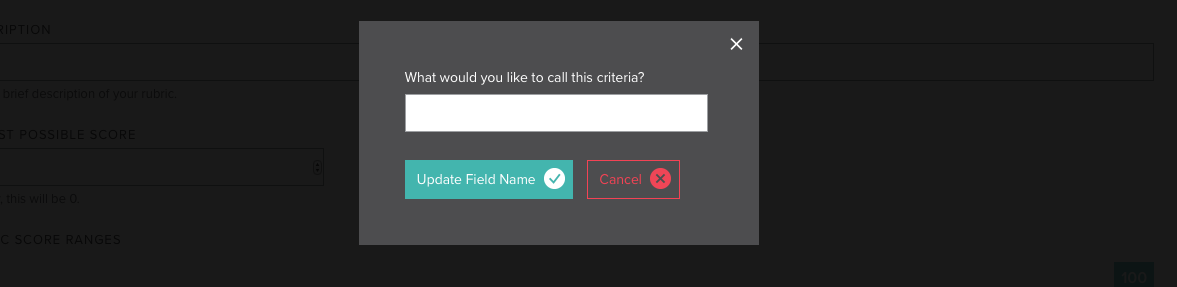
- Click the "Add Criteria +" button in the Rubric Properties Grid and enter the first
item that you will
be assessing, then click the "Save" button. Repeat this step until all of
your criteria are entered.
- Note: Vocat does not currently support weighted rubrics. As a workaround, you can create multiple criteria that are actually assessing the same thing. For example, if you have a 10-point rubric, you can make "Organization" worth 30 points by creating three criteria: "Organization 1-10," "Organization 11-20," and "Organization 21-30."
- If a student scores 25 out of 30 on Organization, give them 10 out of 10 on the Organization 1-10 criteria, 10 out of 10 on Organization 11-20, and 5 out of 10 on Organization 21-30.
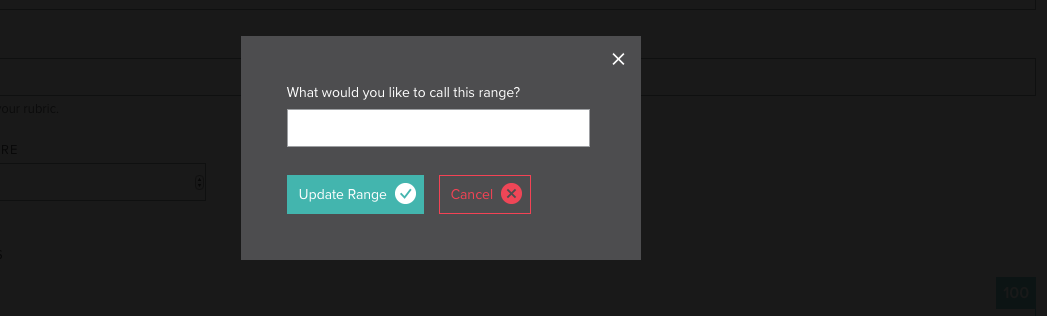
- Click the "Add Range +" button and enter a name for your lowest scoring range, then repeat for the next lowest and so on, until you have entered all your scoring ranges (poor, average, and excellent, for example). You can rename a range or criteria at any time just by clicking on its name.
- To edit the points that each scoring range encompasses, use the "Rubric Score Ranges" slider above your list of criteria and ranges.
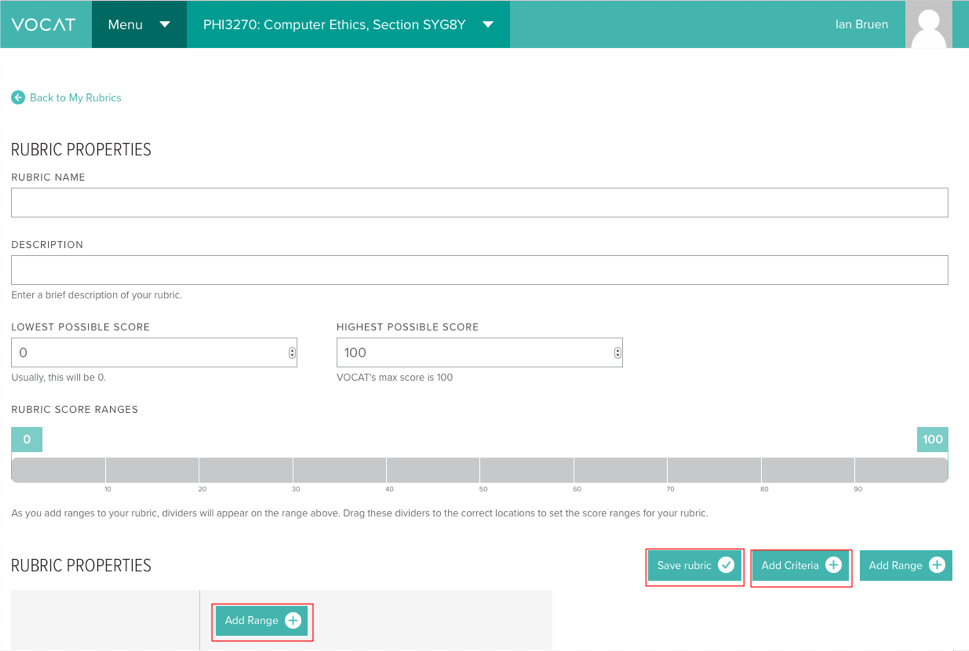
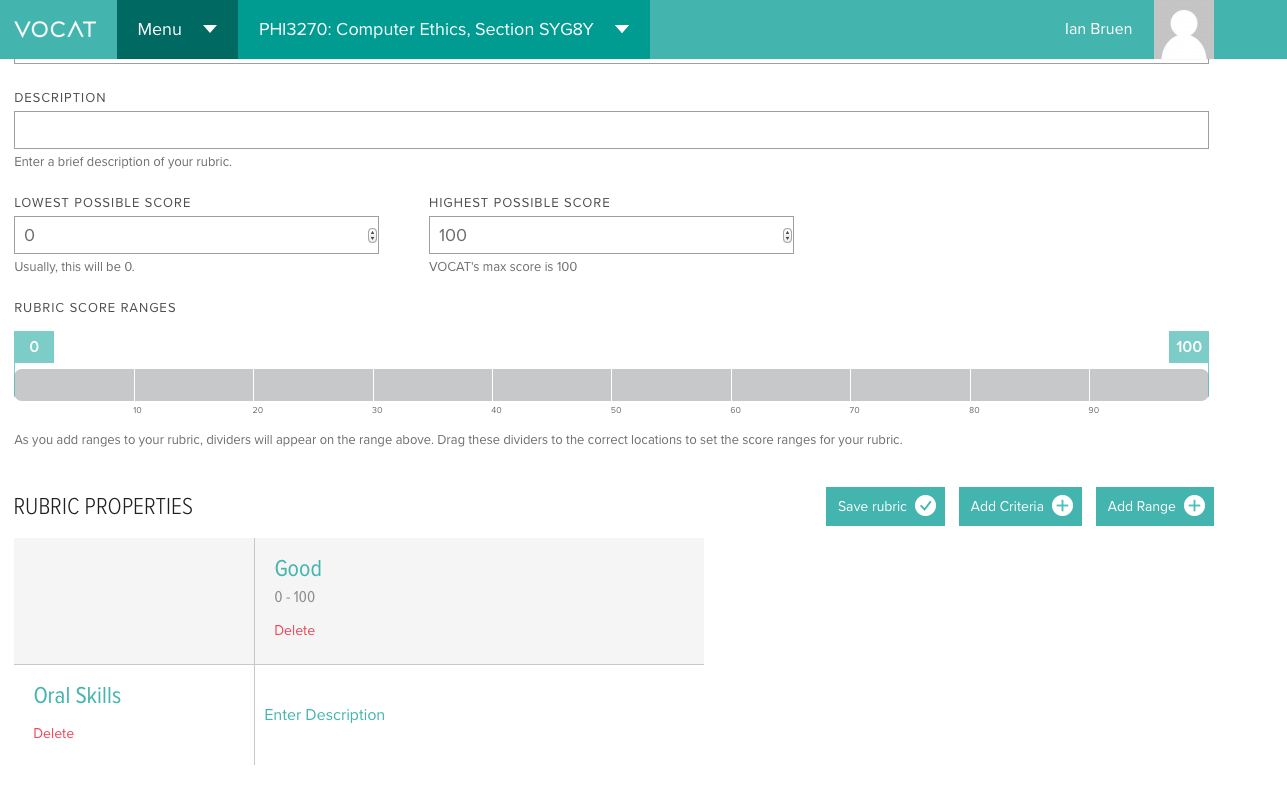
- When you’ve completed your rubric, click the "Save" button, and it will show up in your rubric list.
