Creator
The CREATOR user role is given to students in a class that are utilizing the VOCAT system. The following portion of the documentation seeks to make the facets of this user role as direct and clear as possible.
- First Steps/Login
- Dashboard
- Recording and Uploading Media Assets
- Submitting New Media Assets
- Deleting a wrong submission
- Annotations
- Scores
- Discussions
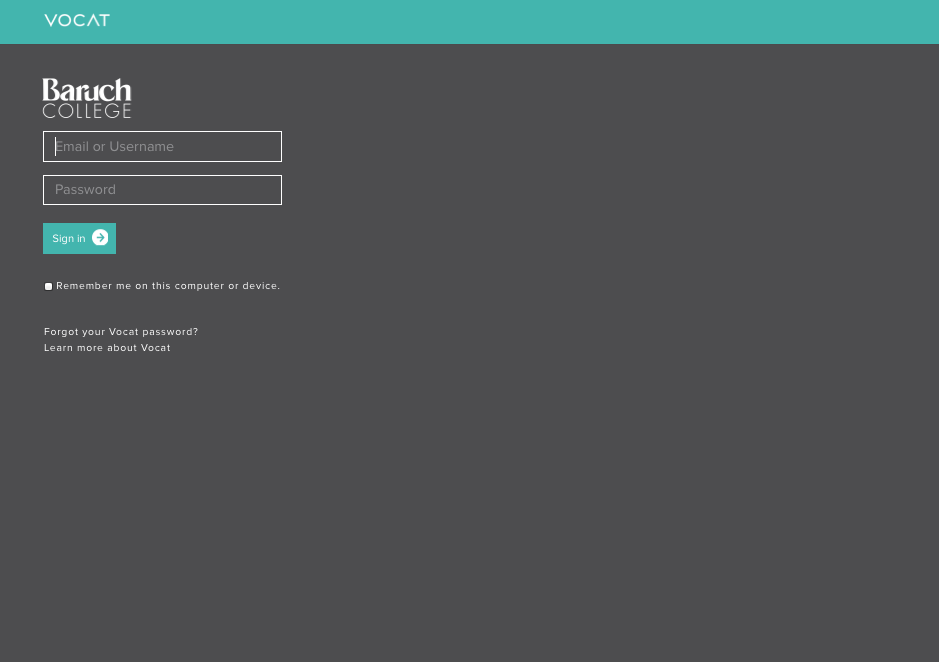
First Steps/Login
- Navigate in a browser to the URL baruch.vocat.io
- Log in with Baruch email address and Active Directory password (same password used to log in to email, on-campus WiFi, and computer lab or classroom computers)
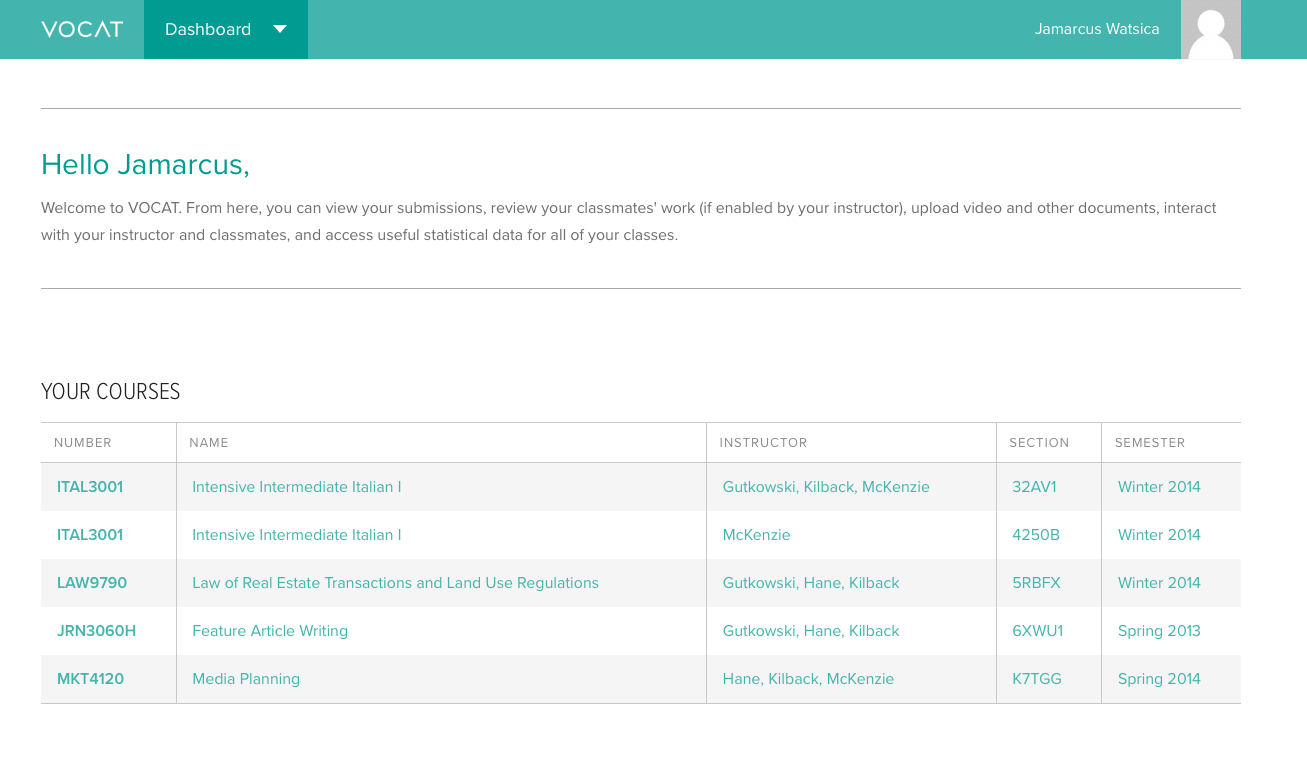
Dashboard
- Creator should see initial greeting and a selection of courses in which the user has been enrolled.
- Creator should see screenname and (optional) avatar in top right-hand corner of screen.
This is the first page arrived at after logging in. It displays an overview of the creator’s courses, showing course titles, project submissions, and scores.
——-
Recording and Uploading Media Assets
- Record the Media Asset using any application on your phone. For videos, make sure you record in landscape mode (horizontal), not portrait mode (vertical).
- After creating the asset (maximum size of 1GB), you can directly upload it to You Tube or Vimeo from your mobile or just save the file on a computer in the following formats,AVI, FLV, MP4 or MPEG-2, and then upload it.
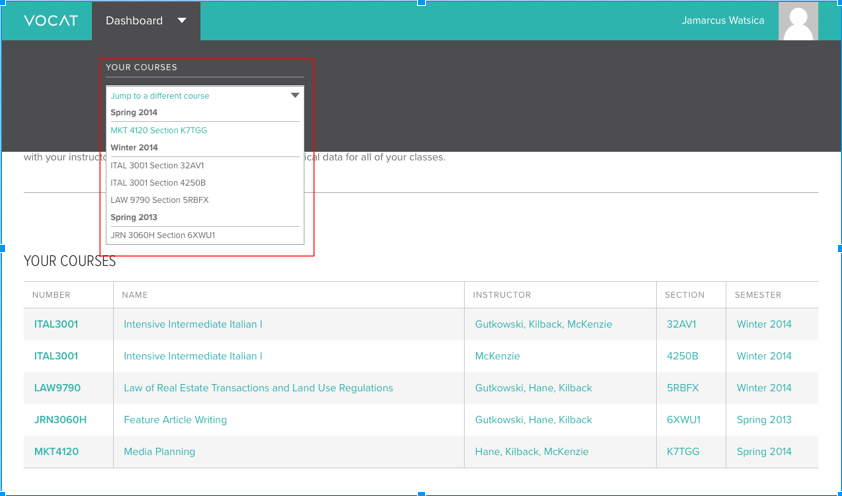
Submitting New Media Assets
From the dashboard a creator can choose to specify a single class using the top-left corner drop down, or the creator can choose to remain on the dashboard where all class assignments can be viewed.
After selecting a course, the student can view all the projects for the course. If the student has
not yet submitted any media assets for a particular project, the project will appear with a
notice that reads "Media not yet uploaded".
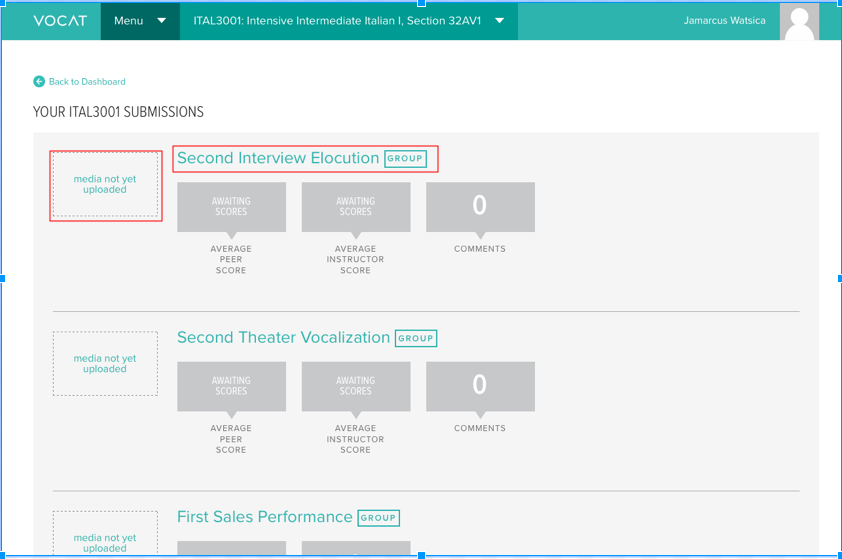
From here the creator can click on the Project Title, or the "Media not yet uploaded" notice. This action will take the user to a page with the Project details and link to upload the submission.
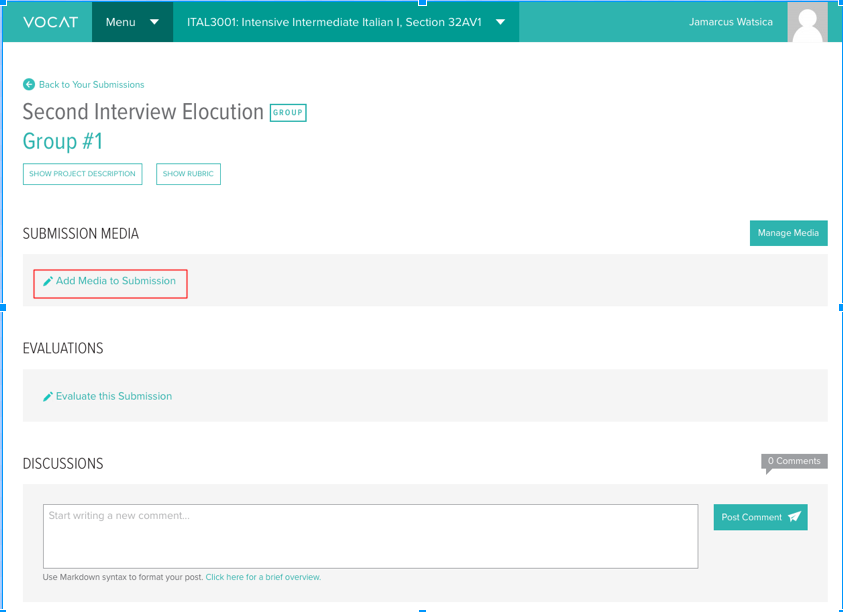 Clicking on the "Add media to Submission" will take the student to the Media Manager frame,
where the student can add one of the three allowable media
asset types: image files, video files, and audio files.
With the media manager you can drag-and-drop files into the large area demarcated with the
dotted rectangle, select a media asset file from your computer's file manager by
selecting the "Add+" button next to "Select an audio, image, or video file", or link a
Vimeo/YouTube video by placing the video’s URL.
Clicking on the "Add media to Submission" will take the student to the Media Manager frame,
where the student can add one of the three allowable media
asset types: image files, video files, and audio files.
With the media manager you can drag-and-drop files into the large area demarcated with the
dotted rectangle, select a media asset file from your computer's file manager by
selecting the "Add+" button next to "Select an audio, image, or video file", or link a
Vimeo/YouTube video by placing the video’s URL.
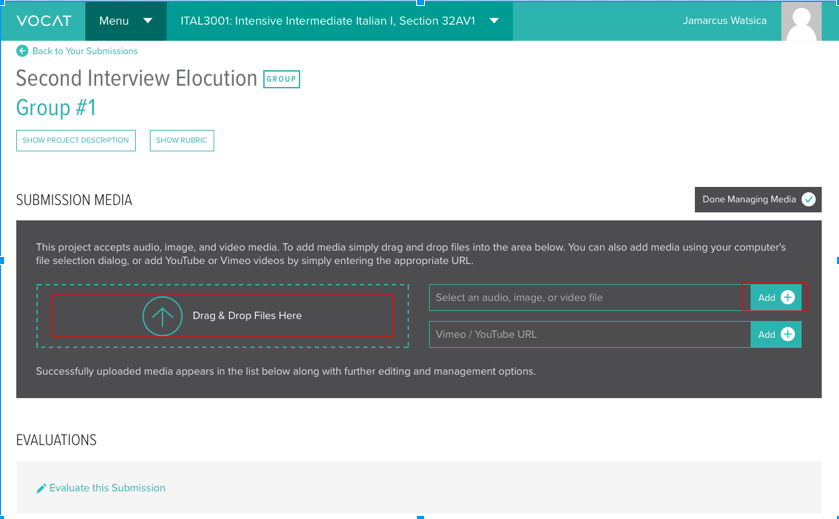
- Select your media asset by either dragging and dropping into the dotted rectangle or selecting the file through your file manager with the topmost Add+ button in the media manager.
- For You Tube/ Vimeo video submission, copy and paste the URL of the video from You Tube/ Vimeo in the text box provided and click the Add+ button to upload the video. Important Note: Do not insert the link provided by the "share" field located beneath the YouTube video. This link will cause an error in your VOCAT submission. Use the URL from the browser address box.
- Once you select the media asset file for upload, the upload process begins and you will see a progress bar showing upload's progress. It is important that you do not close the browser tab or go to another web page while this is happening. You may work in other tabs or other programs, though.
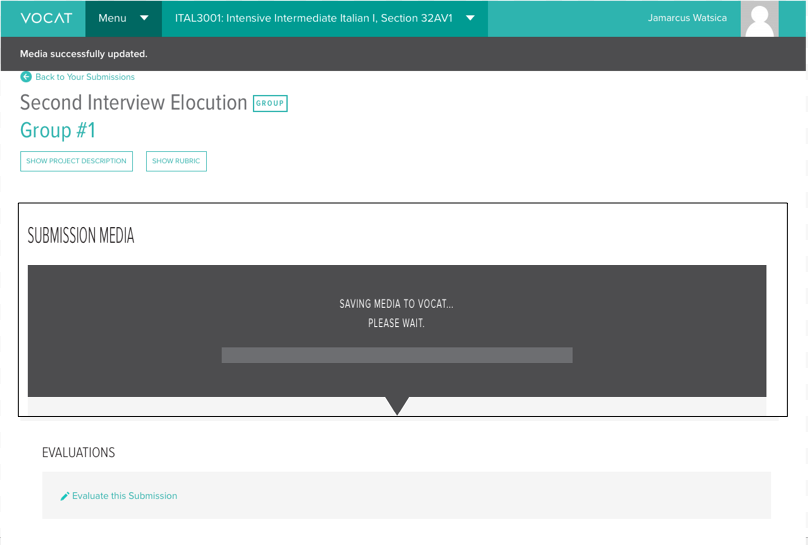
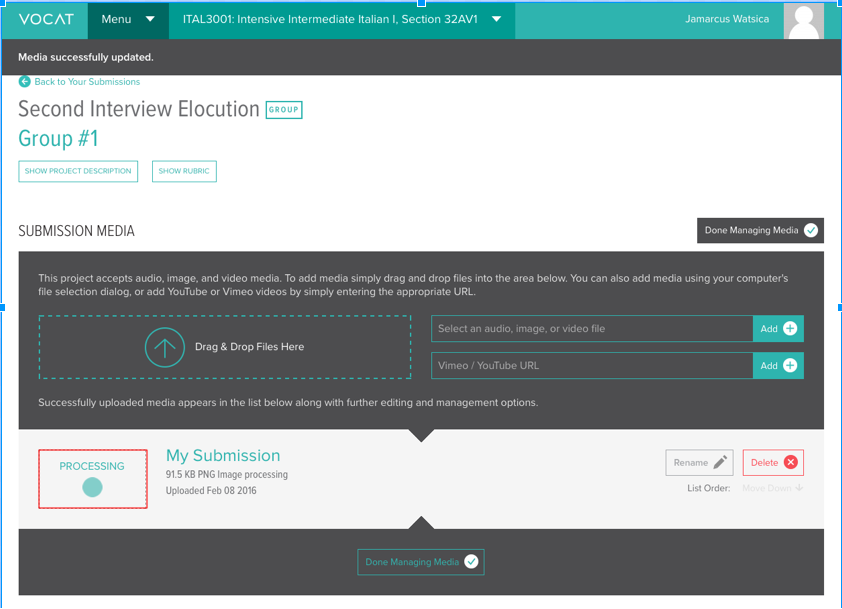
- When the file is done uploading from your computer, you will be asked to name your media asset.
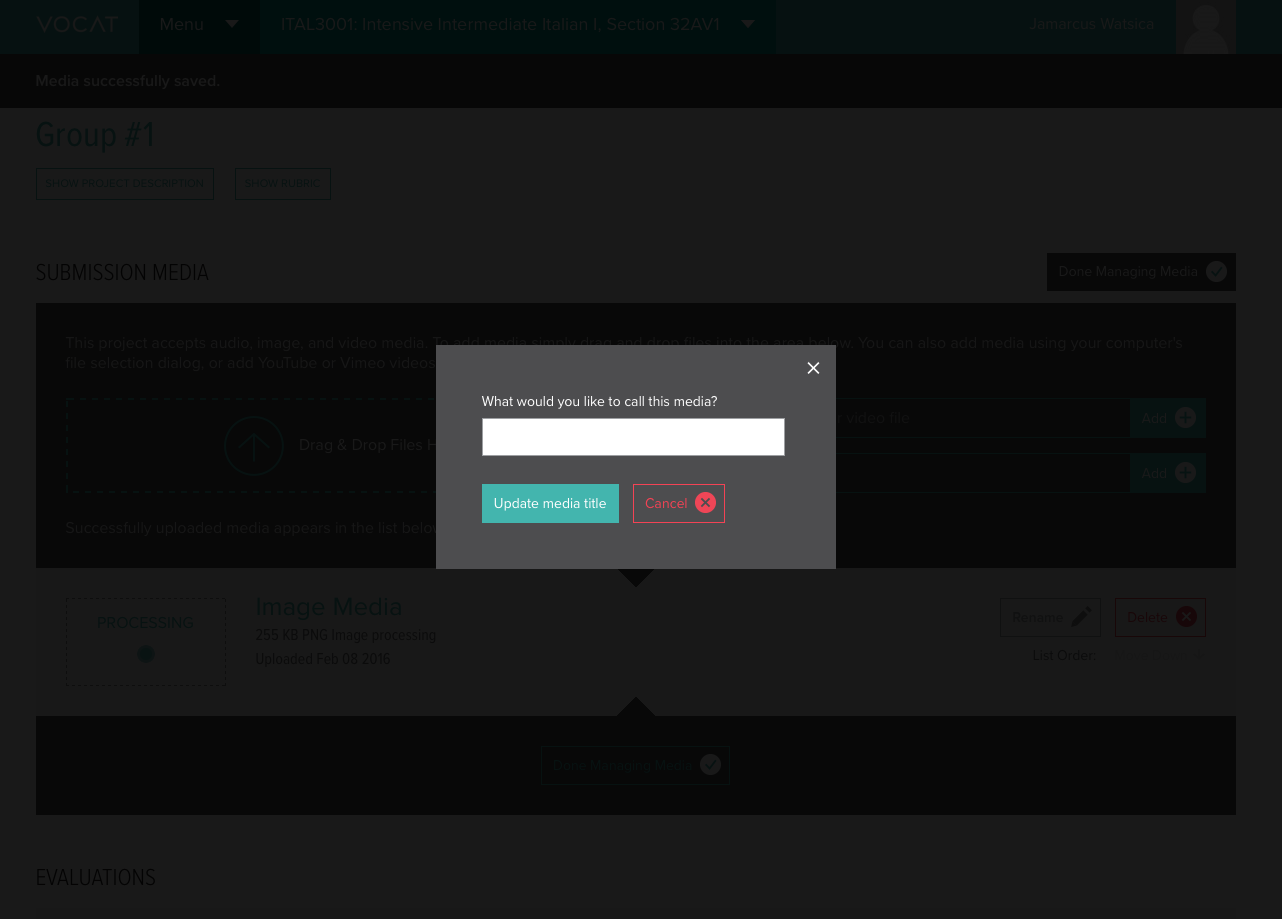
- When you have done this, you will see a new blank thumbnail with the message "Processing" next to it. At this point you are free to exit the page, and the media asset is submitted automatically after processing.
Deleting a wrong submission
Students and creators can also remove any wrong submissions or submissions that require more work. However, this depends on how the evaluator has assigned the project - multiple submissions must be allowed by the evaluator. 1. To delete a submission, open the project by clicking the Project Title.
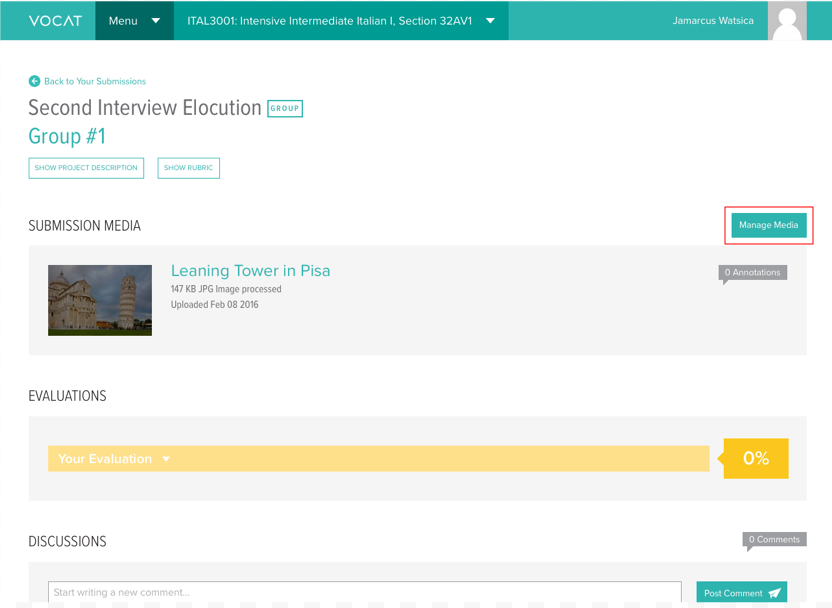
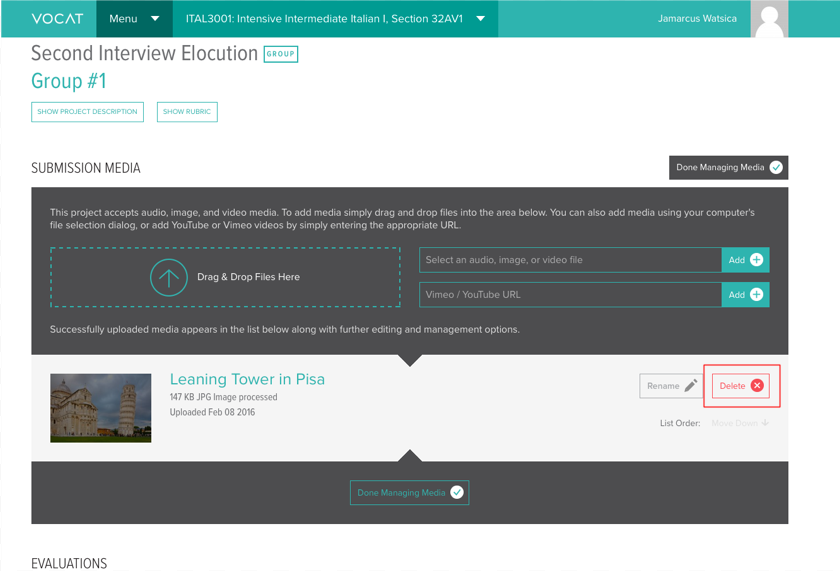
- Select "Manage Media" and the submission with a thumbnail is visible with an option to either rename the
submission or delete it. Selecting delete willwould permanently delete the submission from the project; you
and you cannot retrieve it after this point. You can upload another submission, if you so choose.
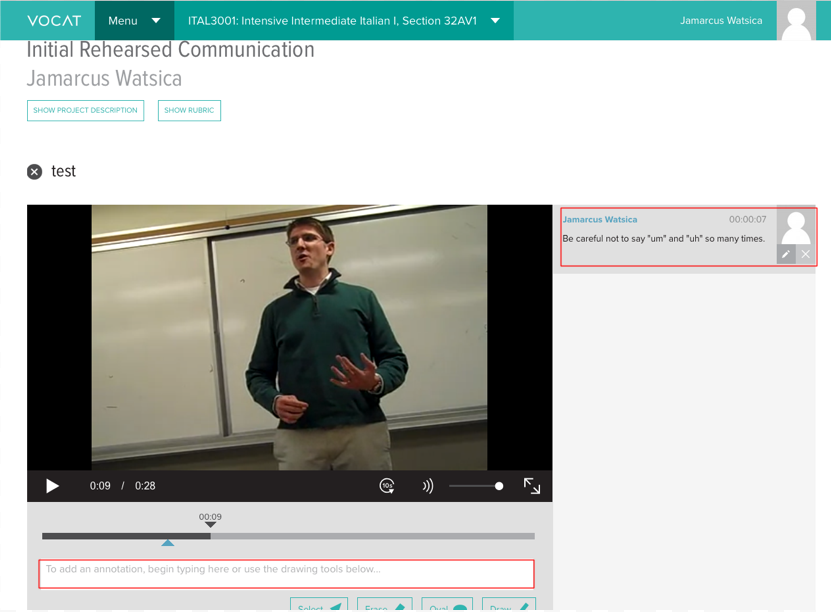
Annotations
The annotation tool allows you to make specific comments about aspects of the student’s media submission. You can do the following with the annotation tool:
- Make a time stamped comment: This feature allows you to reference a specific point in a media submission and comment on it. When reviewing your comments, students can click them and Vocat will open the specific part of the media submission that the comment relates to/contextualizes
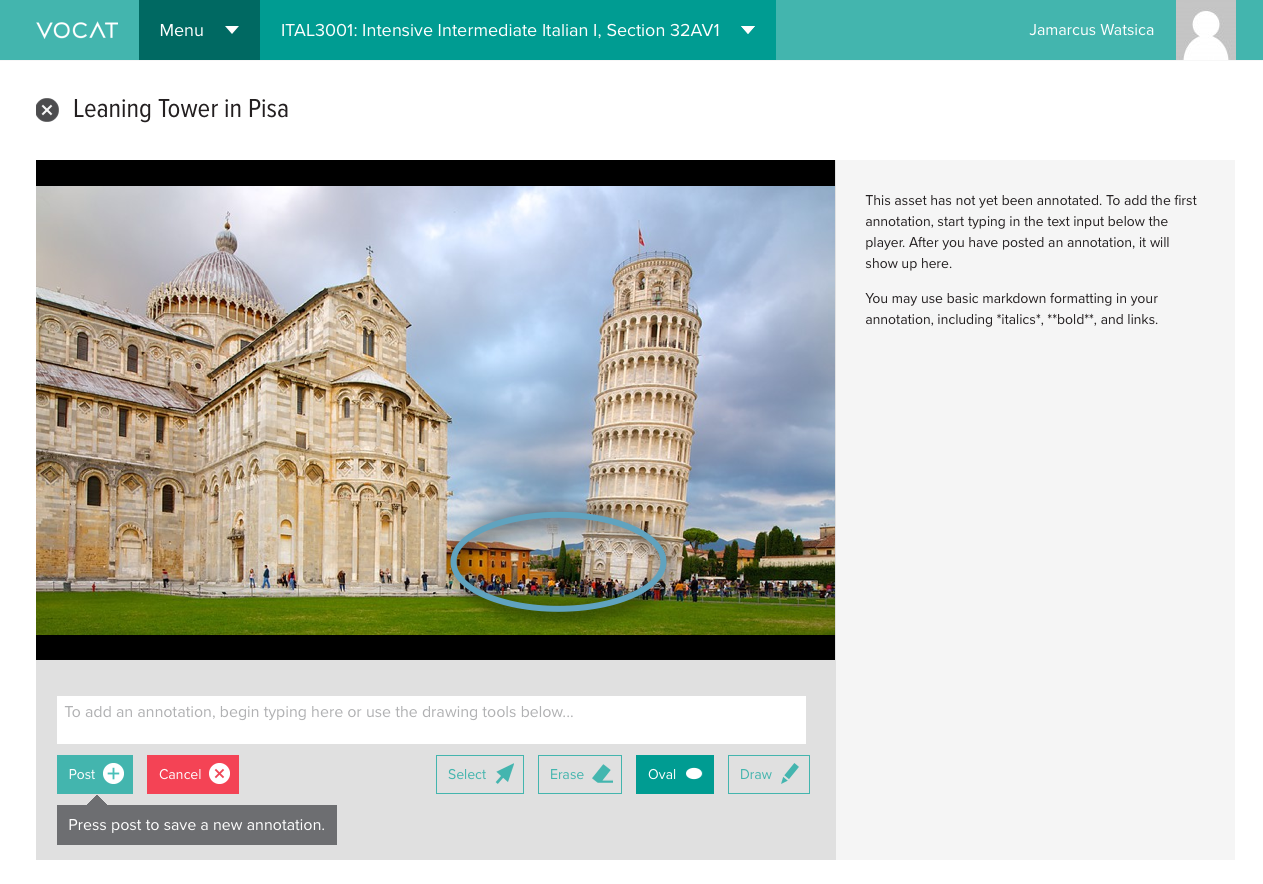
- Use of Oval annotation tool: This tool allows you to place a yellow circle around anything in an image submission, or on a video at a specific point in the video timeline.
- Use of the Draw annotation tool: This allows you to draw freeform on media submissions
- Use of the Select tool: This allows you to quickly move any freeform drawings or ovals around the media submission canvas.
These tools work for all types of media assets, with limited availability of drawing tools for audio files. While annotations of images don't necessarily utilize timestamp functionality, you can use the drawing tools to make separate points to a student.
Students/ creators can also annotate videos;all you have to do is start typing for the timestamp functionality to be initiated.
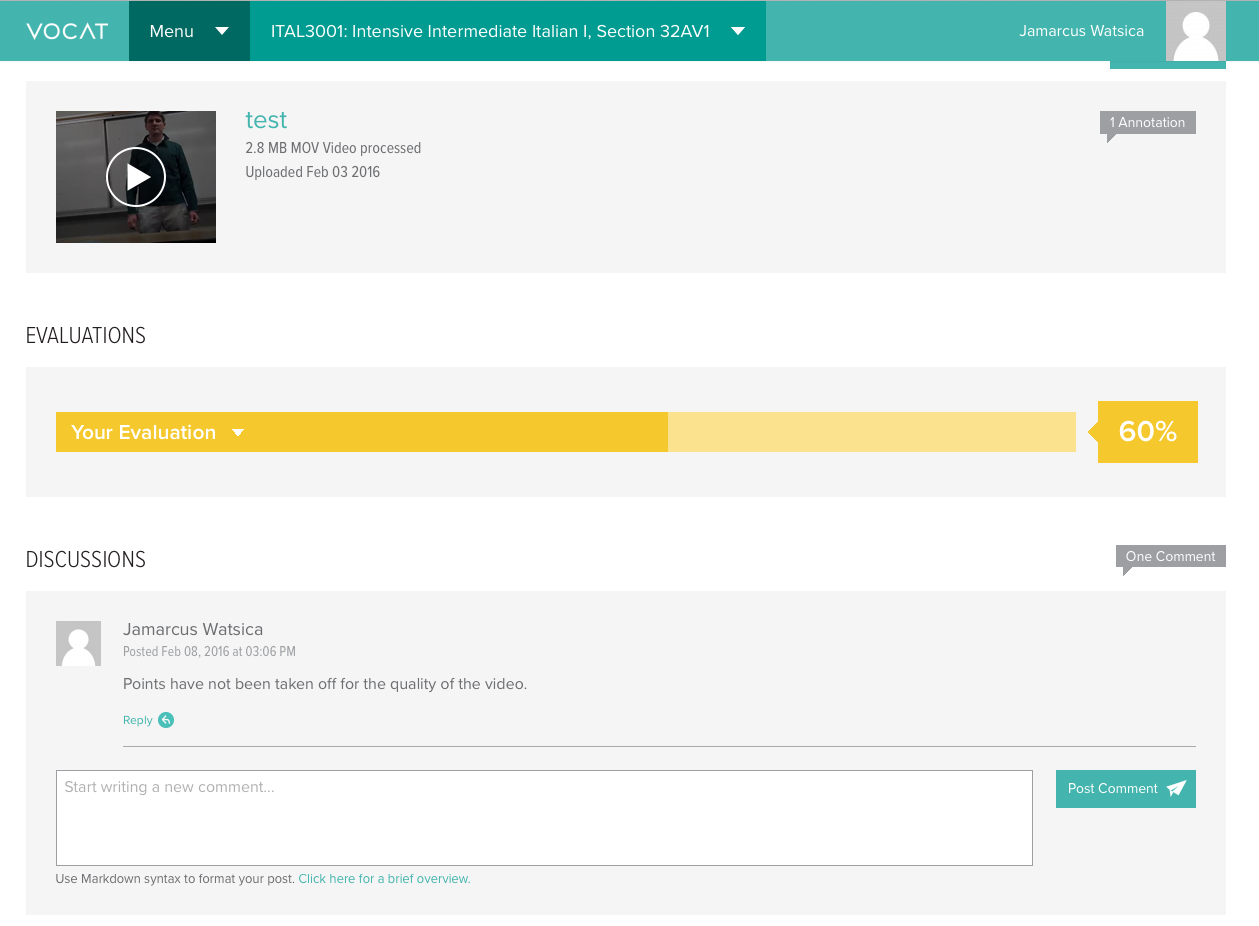
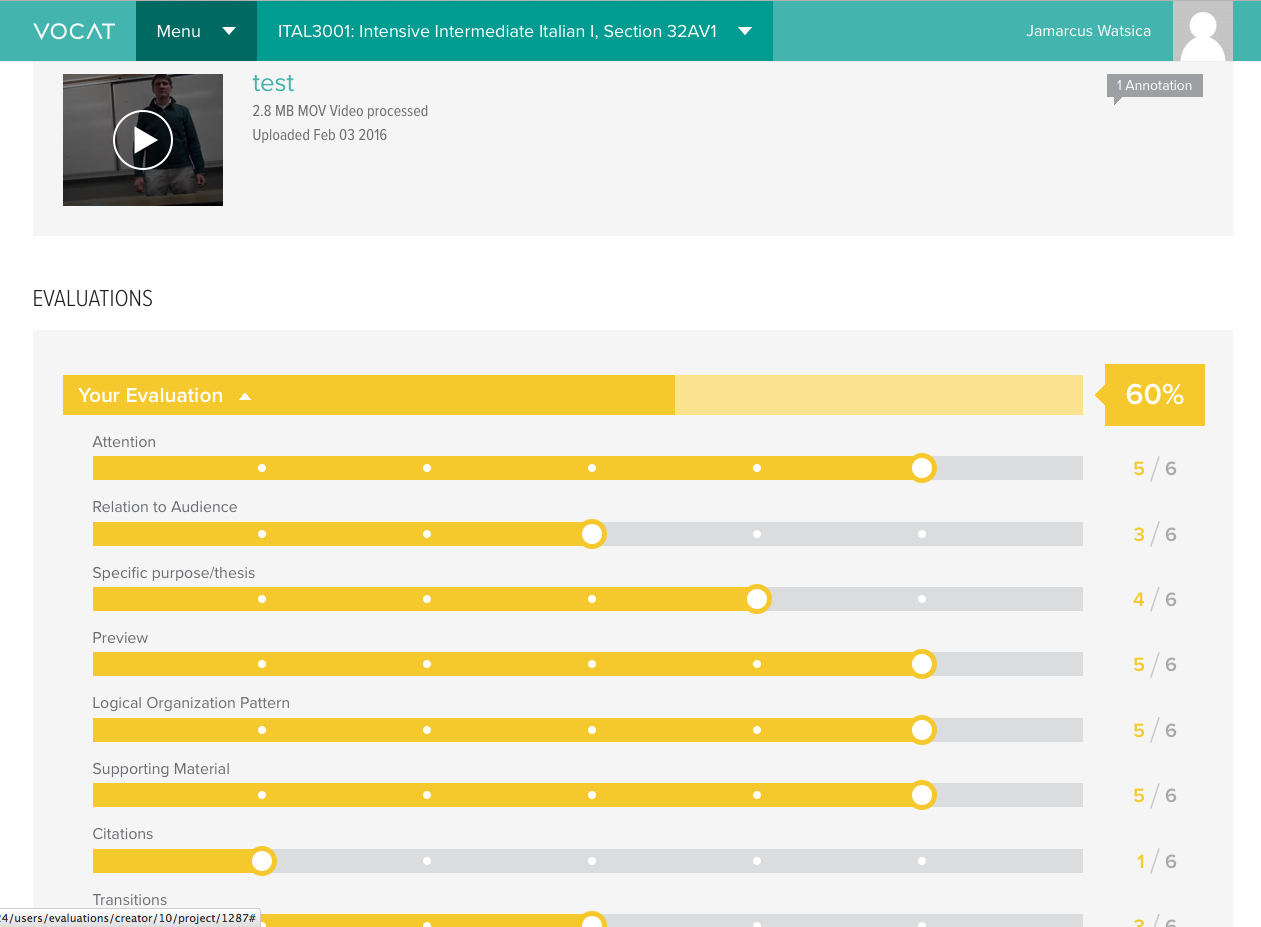
Scores
The creator can examine scores given to them by their evaluator. A thermometer-style visualization reports the percentage out of 100. If the creator clicks on this visualization more rubric detail appears below, giving more clarity to the evaluator’s critique.
Discussions
Creators can also engage in a discussion section that supplements each submitted video. A textbox appears under the Discussions header. This allows for feedback and communication between creator-evaluator and/or creator-creator.