Administrator
The ADMINISTRATOR user role is given to select campus Vocat administrators only.
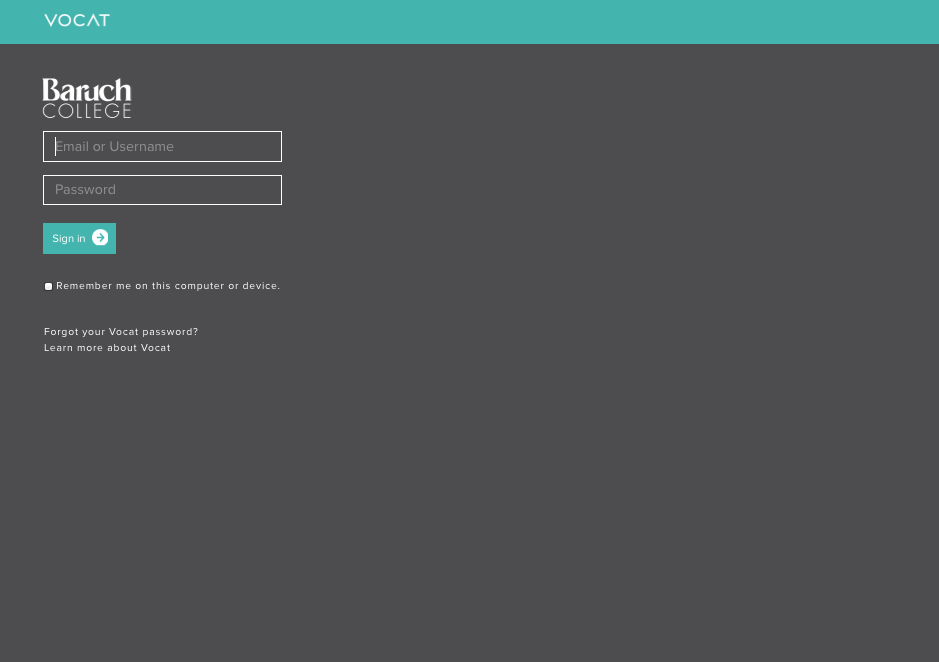
First Steps / Login
- Navigate in a browser to the URL campusname.vocat.io (i.e. baruch.vocat.io, york.vocat.io, queens.vocat.io, etc.)
- Login credentials based on your campus preferences.
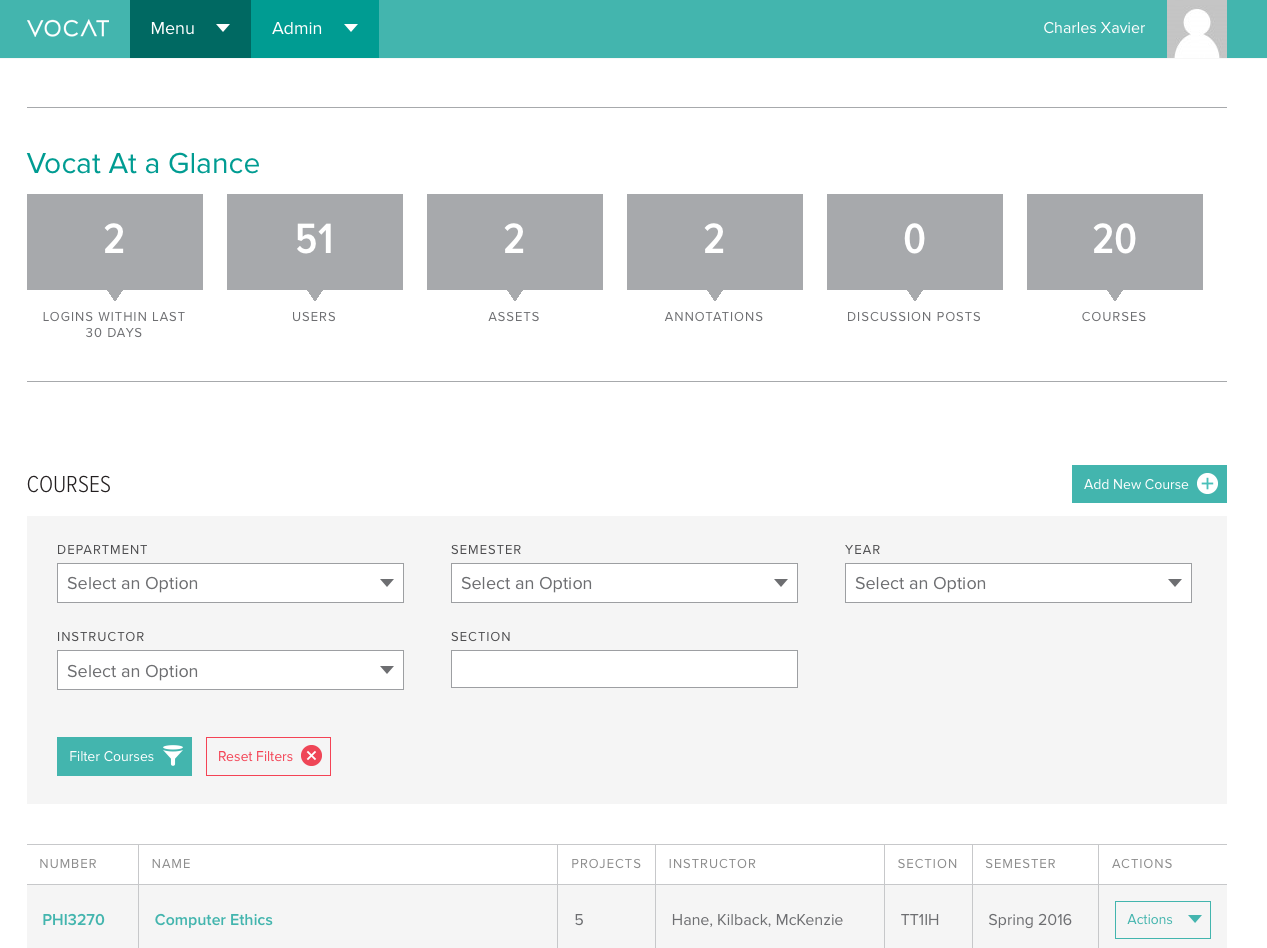
Dashboard
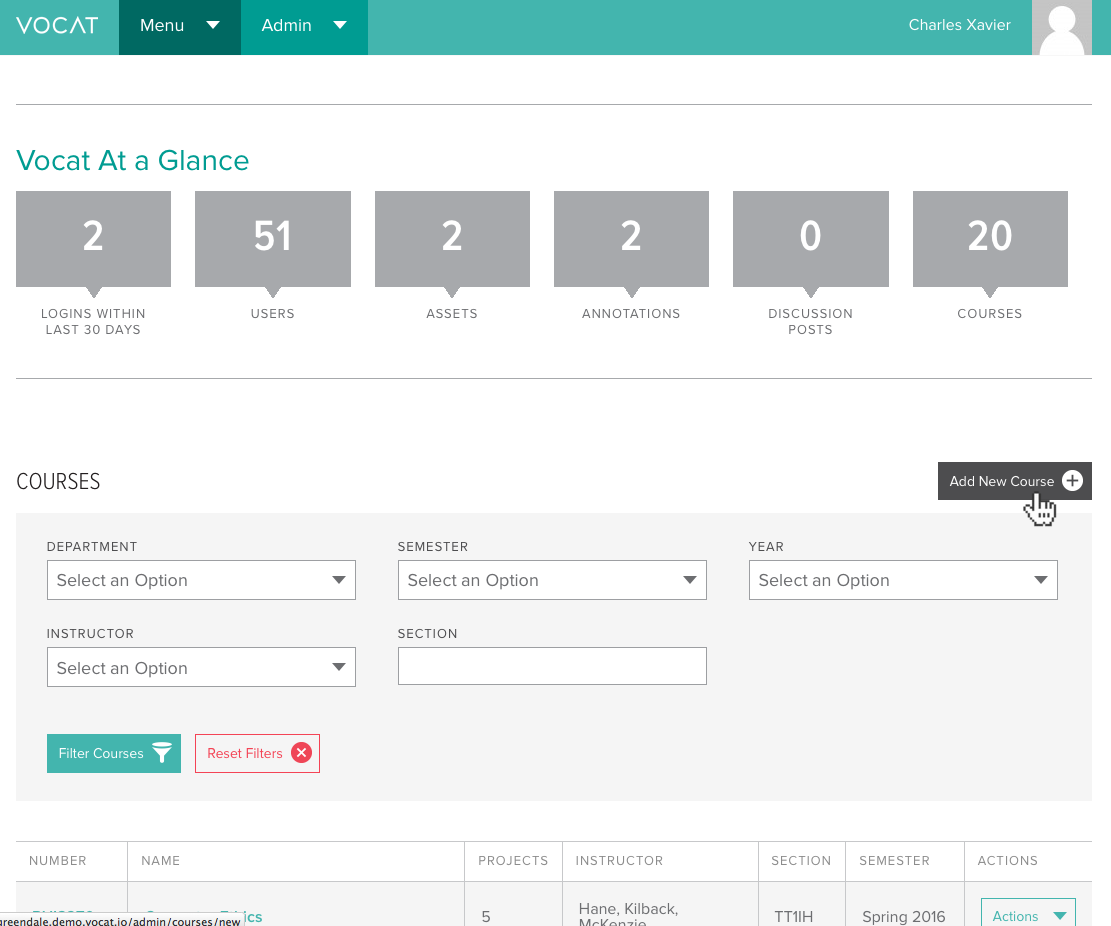
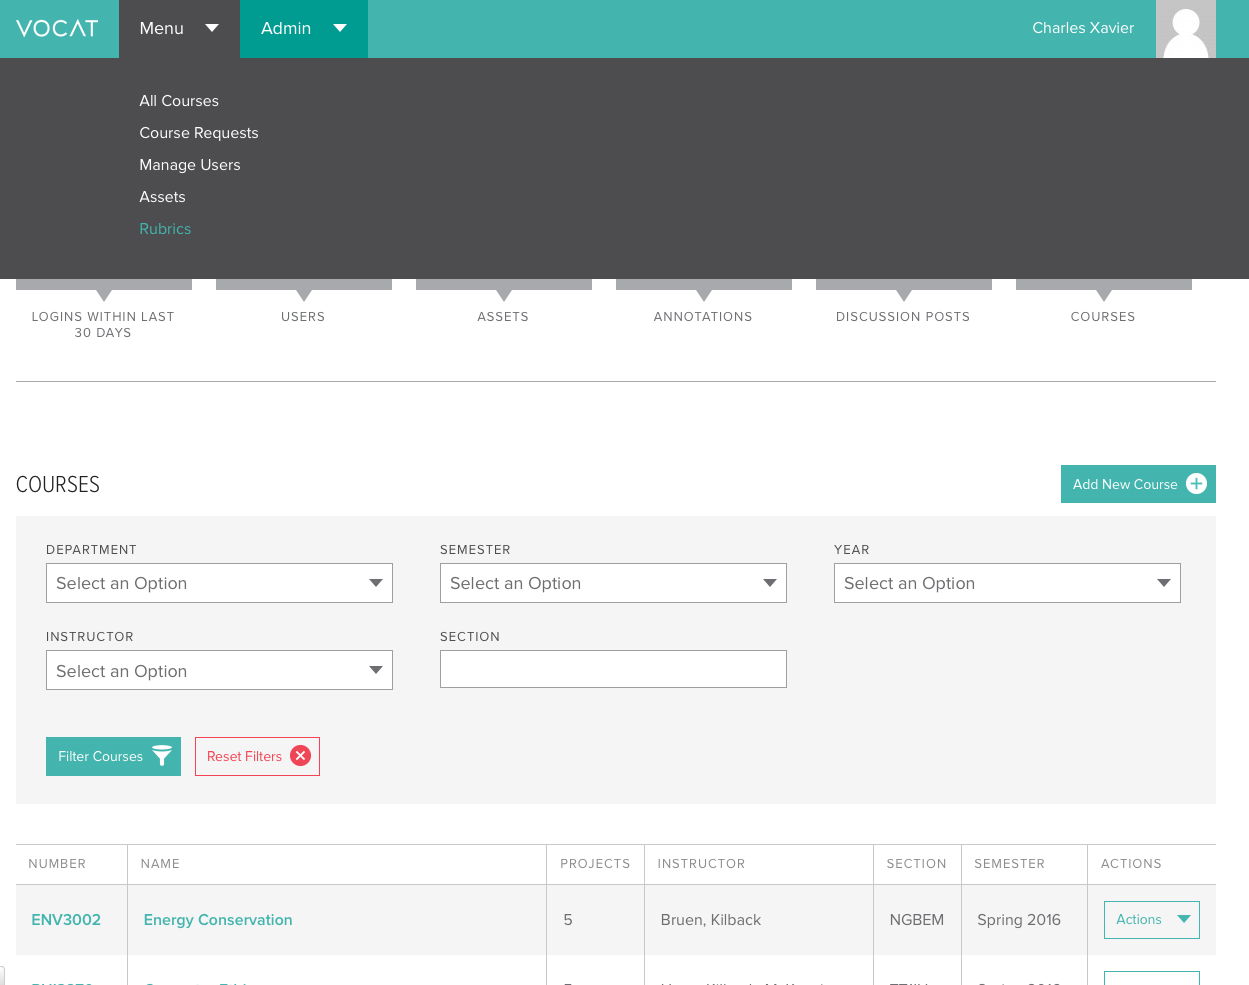
- Administrator should see the following statistics directly beneath the dynamic navbar:
- Number of logins within the last 30 days
- Number of users
- Number of assets
- Number of annotations
- Number of discussion posts
- Number of courses
- Administrator should see screenname and (optional) avatar in top right-hand corner of screen.
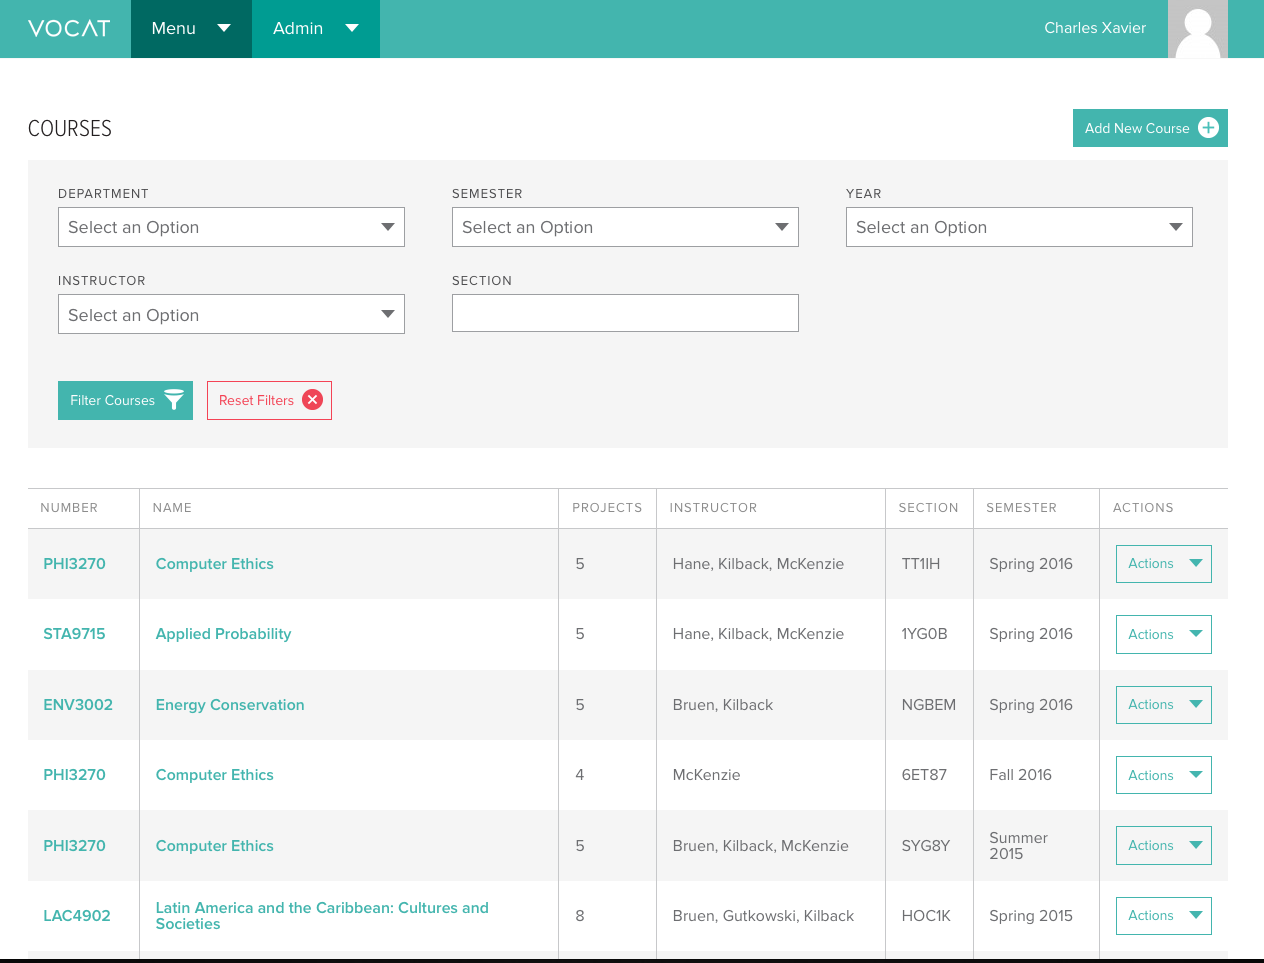
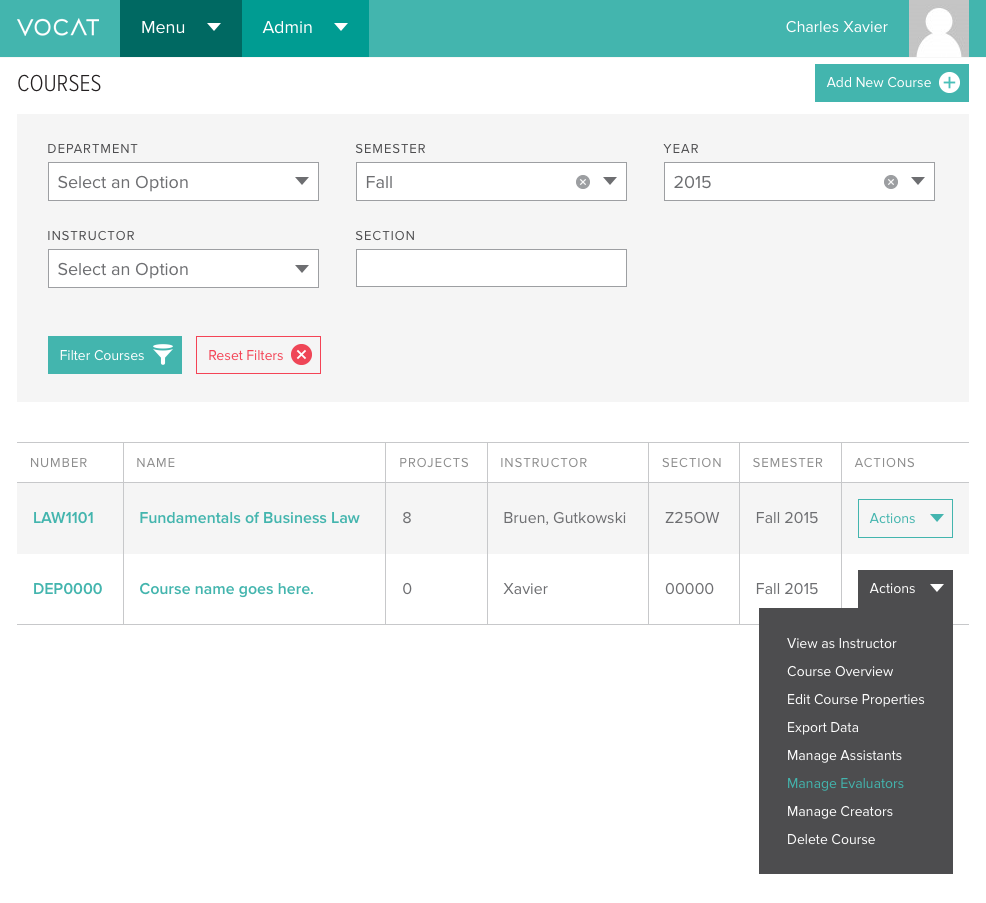
This is the first page arrived at after logging in. It displays an overview of all courses, showing course numbers, course names, number of projects per course, the name of the instructors in each course, the course section, semester, and an action button with further options.
It is possible to filter the courses by Department Name, Semester, Year, Instructor, and/or Section.
Create Courses
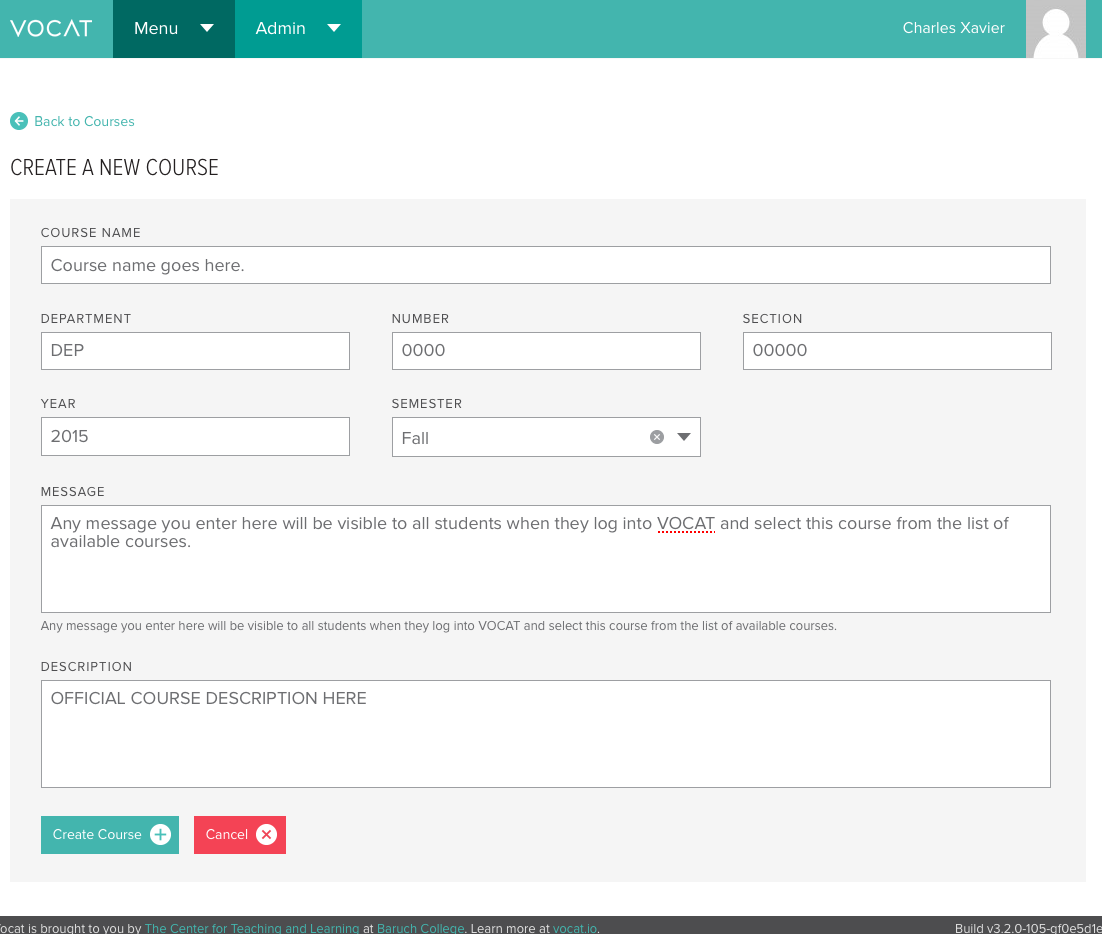
To create a course from scratch click on the add new course button. When you press this button you'll get a Create Course form. Fill out this form and click the Create Course + button to complete the creation of a single course.
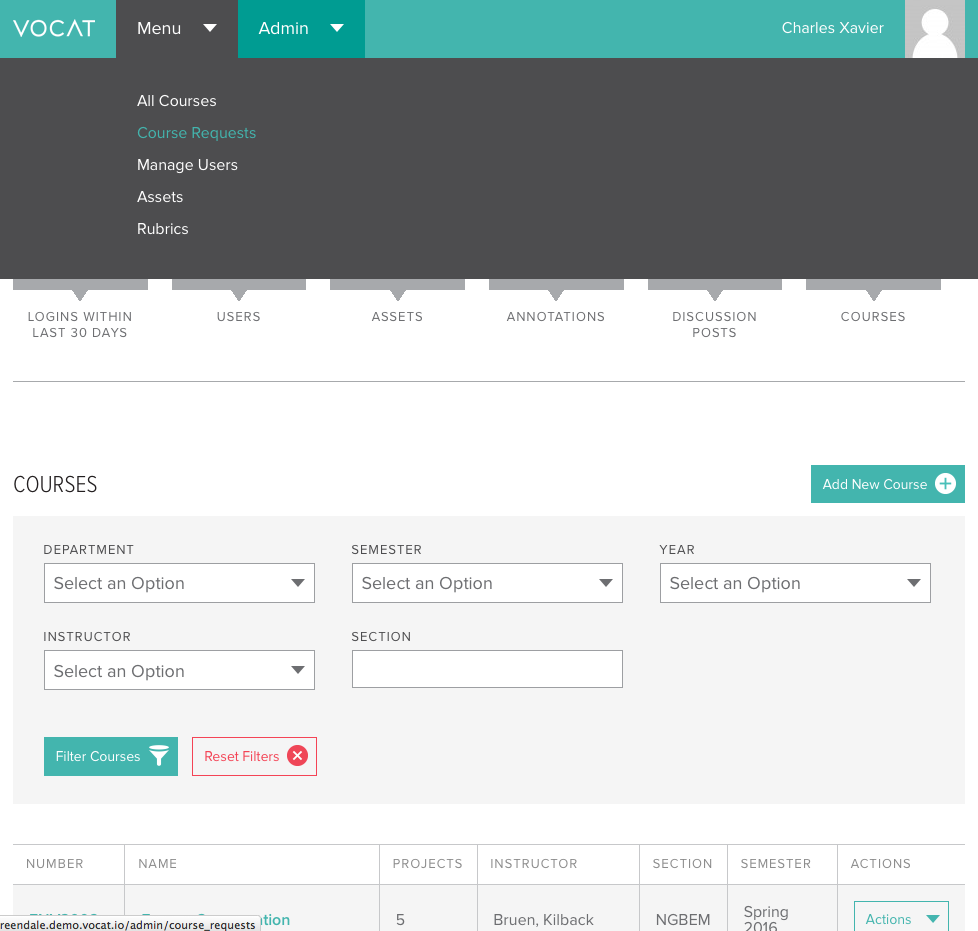
To create a course via a course request, first navigate to the dynamic navbar, and click on course requests. From there, you can inspect the evaluator's submitted settings, and choose to allow the course's creation, or contact the evaluator with concerns.
Add Users
Users consist primarily of Evaluators (course instructors and co-instructors) and Creators (students). You add users by selecting the "Manage Evaluators" or "Manage Creators" options.
You can add users either from the dashboard:
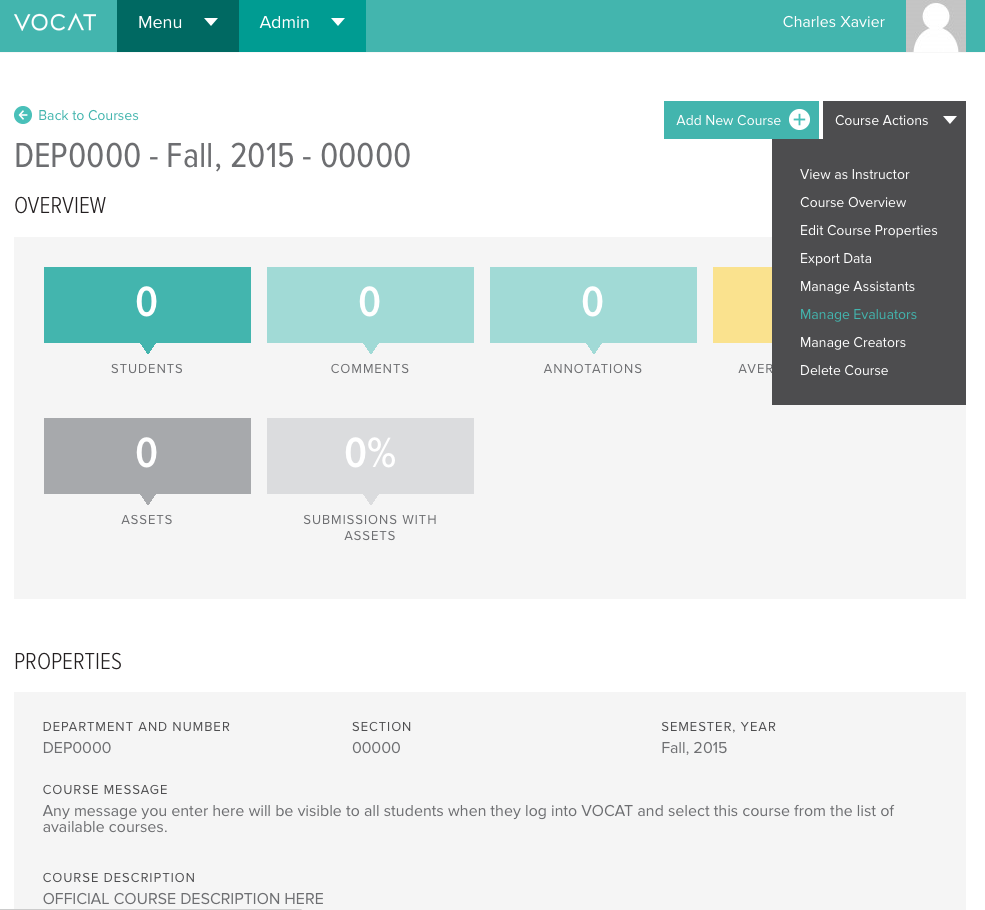
Or course overview page that appears immidiately after creating a new course:
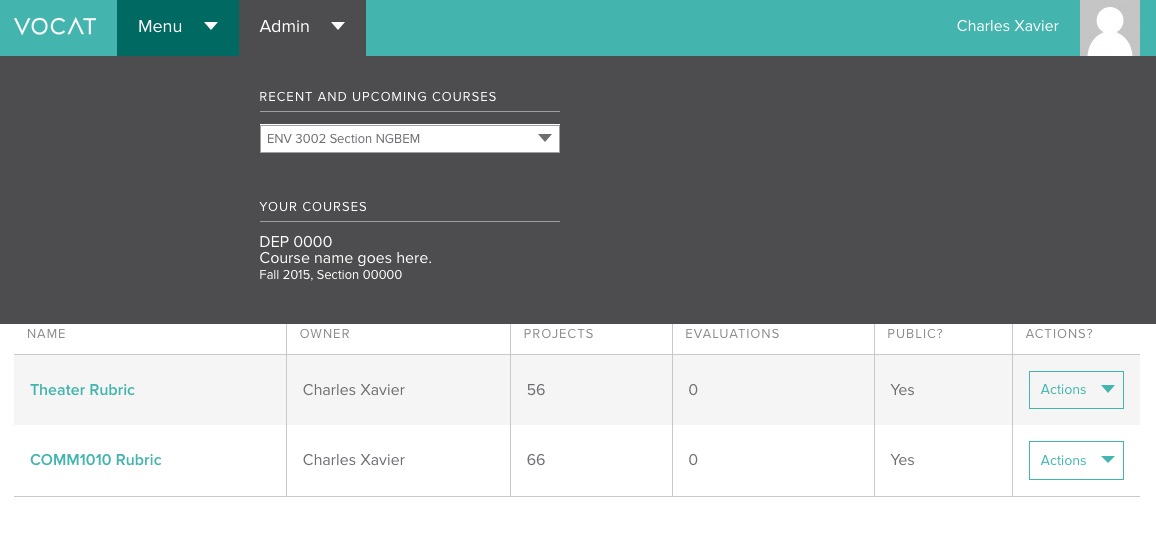
Rubric Library
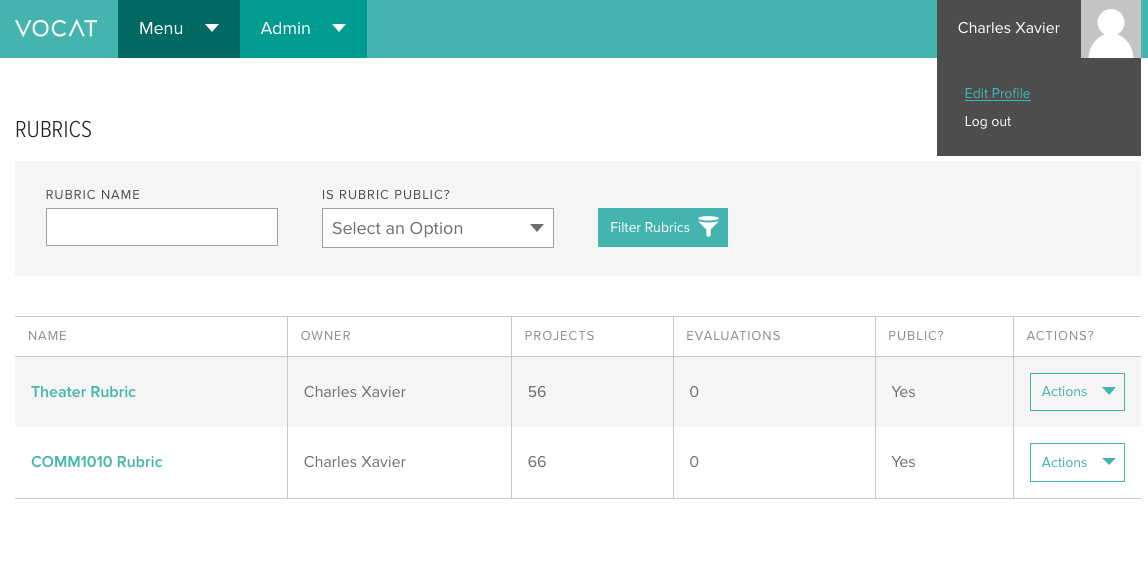
The rubric library is where all rubrics being used for assessment purposes in Vocat course instances can be accessed.
To move into the rubric library, click the Menu button at the top of the screen on the navbar, then select Rubrics.
You can now see all of the rubrics currently available. Admins are able to see all rubrics, both public and private. Evaluators are able to see only rubrics that have been made public by their peers.
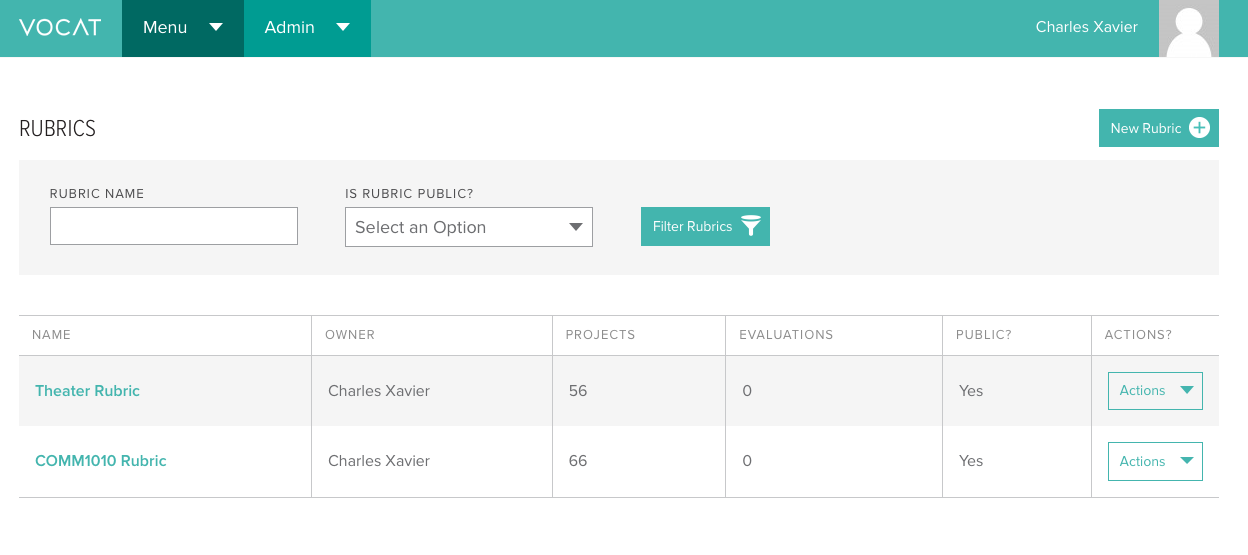
Click on any of the rubrics to get a complete overview of ranges, criteria, etc.
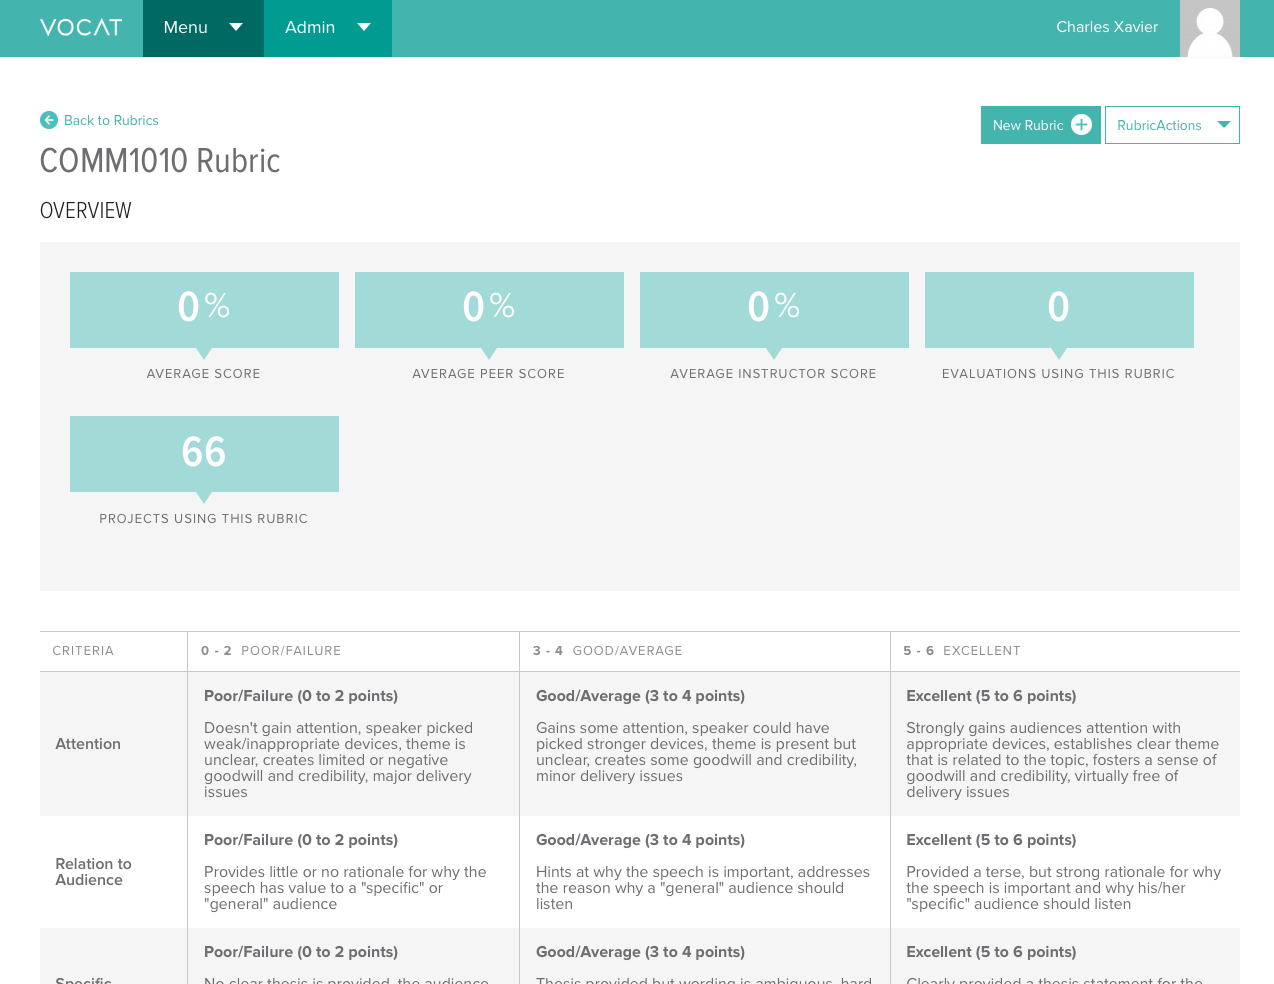
To create a rubric from scratch, click the "Create a New Rubric +" button at the top right corner of the page.
- Give your rubric a name and brief description in the "Rubric Name" and "Description" fields.
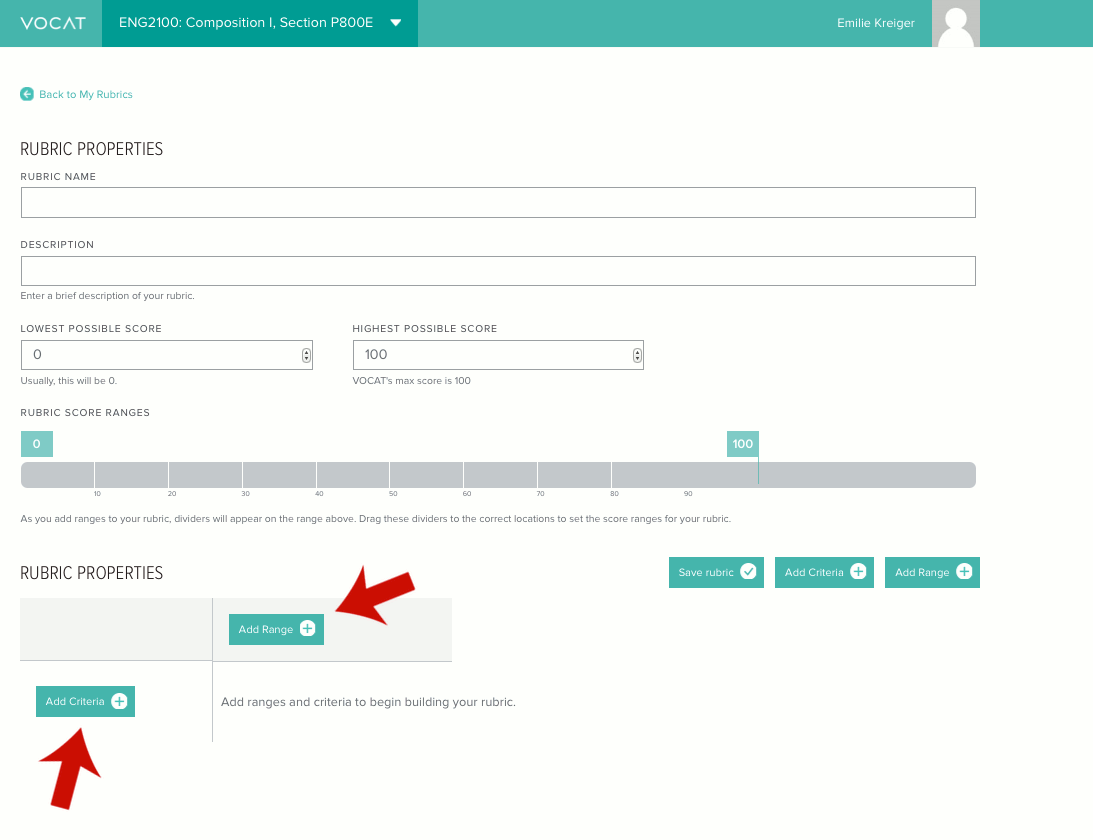
- In "Lowest Possible Score" and "Highest Possible Score," enter the lowest and highest scores possible for each criteria you will be grading on, not the total score possible in the rubric.
- Click the "Add Criteria +" button in the Rubric Properties Grid and enter the first
item that you will
be assessing, then click the "Save" button. Repeat this step until all of
your criteria are entered.
- Note: Vocat does not currently support weighted rubrics. As a workaround, you can create multiple criteria that are actually assessing the same thing. For example, if you have a 10-point rubric, you can make "Organization" worth 30 points by creating three criteria: "Organization 1-10," "Organization 11-20," and "Organization 21-30."
- If a student scores 25 out of 30 on Organization, give them 10 out of 10 on the Organization 1-10 criteria, 10 out of 10 on Organization 11-20, and 5 out of 10 on Organization 21-30.
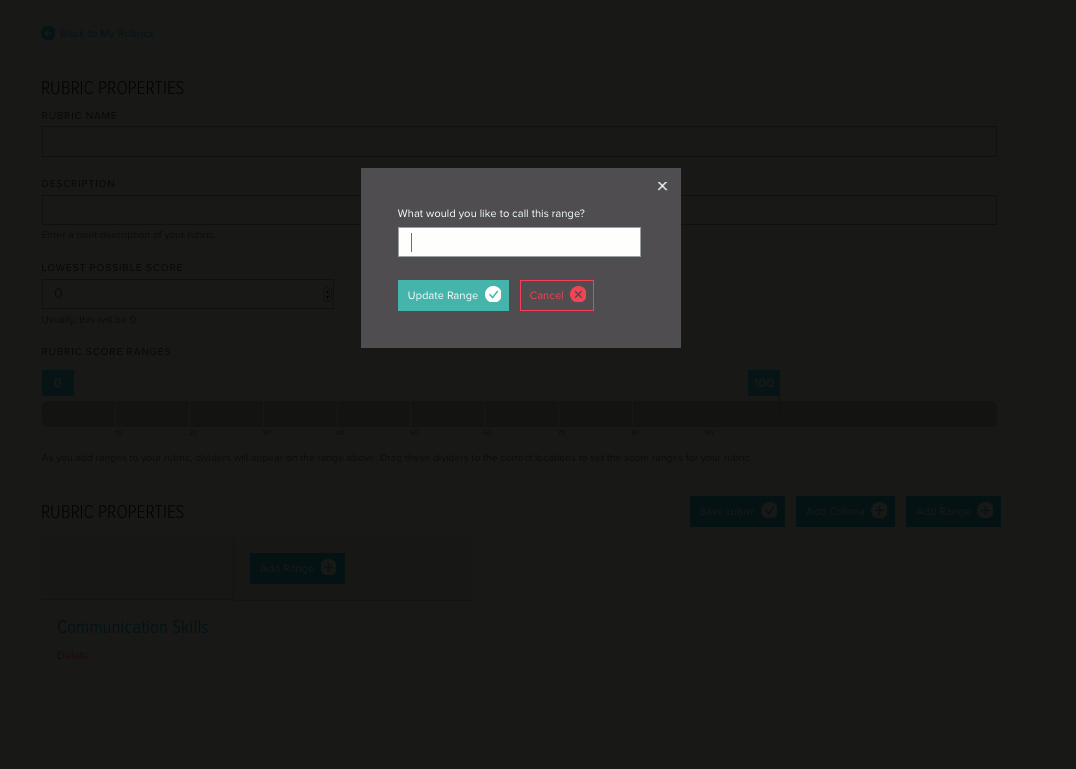
- Click the "Add Range +" button and enter a name for your lowest scoring range, then repeat for the next lowest and so on, until you have entered all your scoring ranges (poor, average, and excellent, for example). You can rename a range or criteria at any time just by clicking on its name.
- To edit the points that each scoring range encompasses, use the "RUBRIC SCORE RANGES" slider above your list of criteria and ranges.
- When you’ve completed your rubric, click the "Save >" button, and it will show up in your rubric list.


Settings / MISC.
To change your avatar and other user settings, click on your name/current avatar and select edit profile.
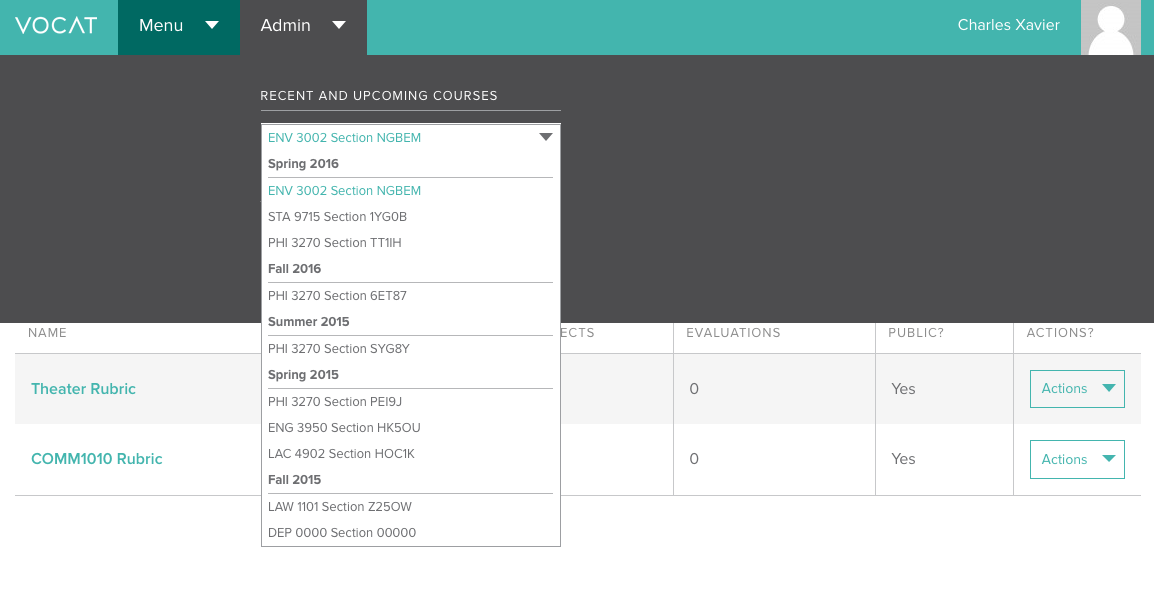
You can see what the latest courses added to Vocat are in the area of the dynamic navbar labled Admin. This portion of the navbar also shows any classes you are involved in outside of a strict administration role.